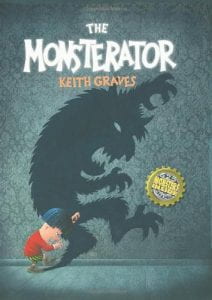
Last week in the Jackson Library, third graders used Google’s Toontastic app to retell the story, The Monsterator by Keith Graves. This app is great because it is free, it allows them to draw their own setting and characters, it offers them options to customize their music and record their voice, and it even adds scrolling movie credits. Check out their creations!
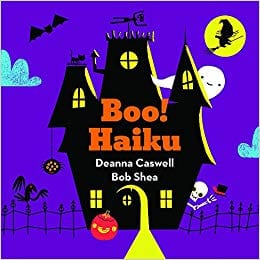
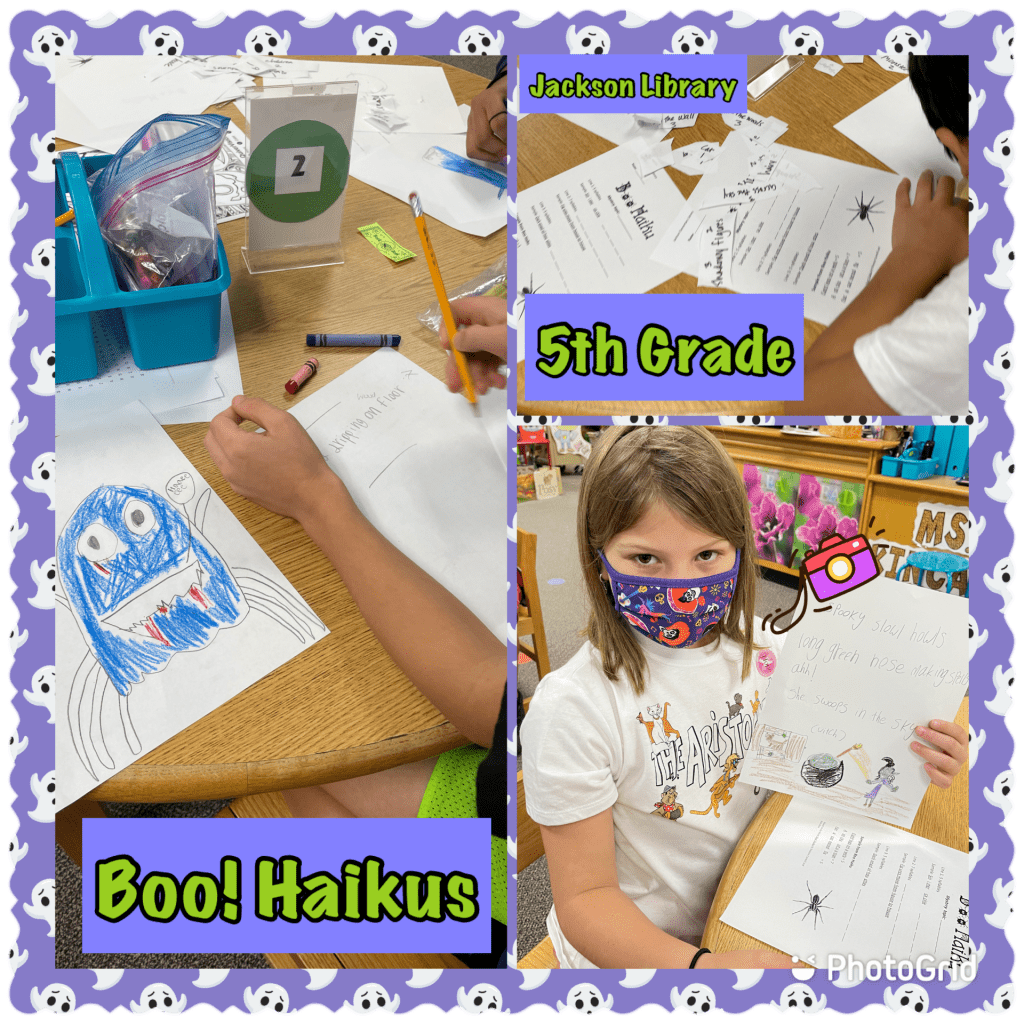
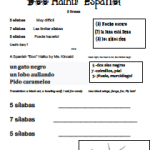
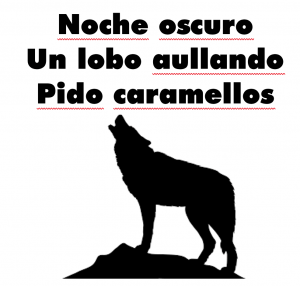
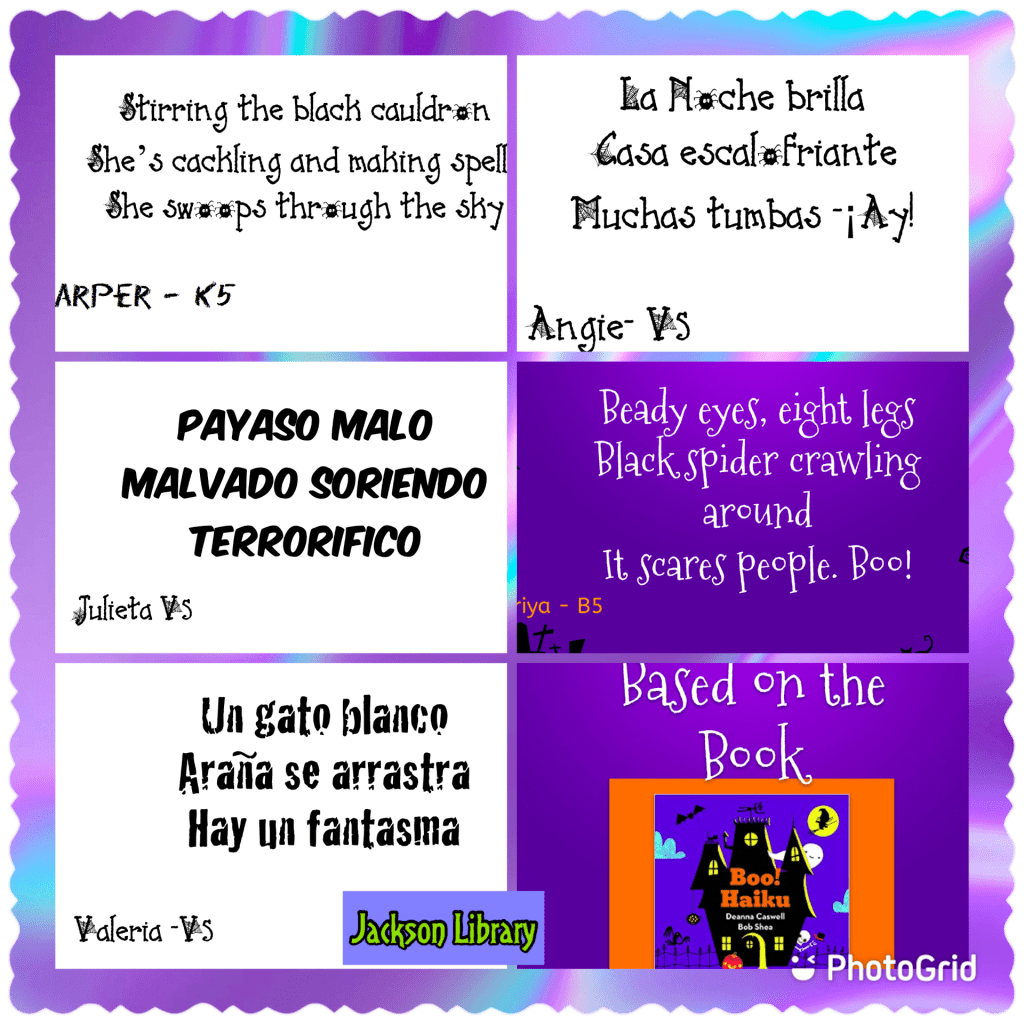
Last week, in the Jackson Library, fifth graders had fun writing spooky haikus! This idea is from the book, Boo! Haiku. To get our brains warmed up, I showed the kids some student samples from a couple of years ago and then had them draw a spooky scene. Thinking about how to describe the scene helped the kids to get ideas for their haiku. The bilingual classes chose to write in English or Spanish. Other helpful tips: scatter SPOOKY words1 & spookywords2 on the tables as vocabulary enhancers, don’t ‘require’ use of the form/template- many kids wanted to write their poem rough draft right next to their drawing… Check out their spoooky creations!
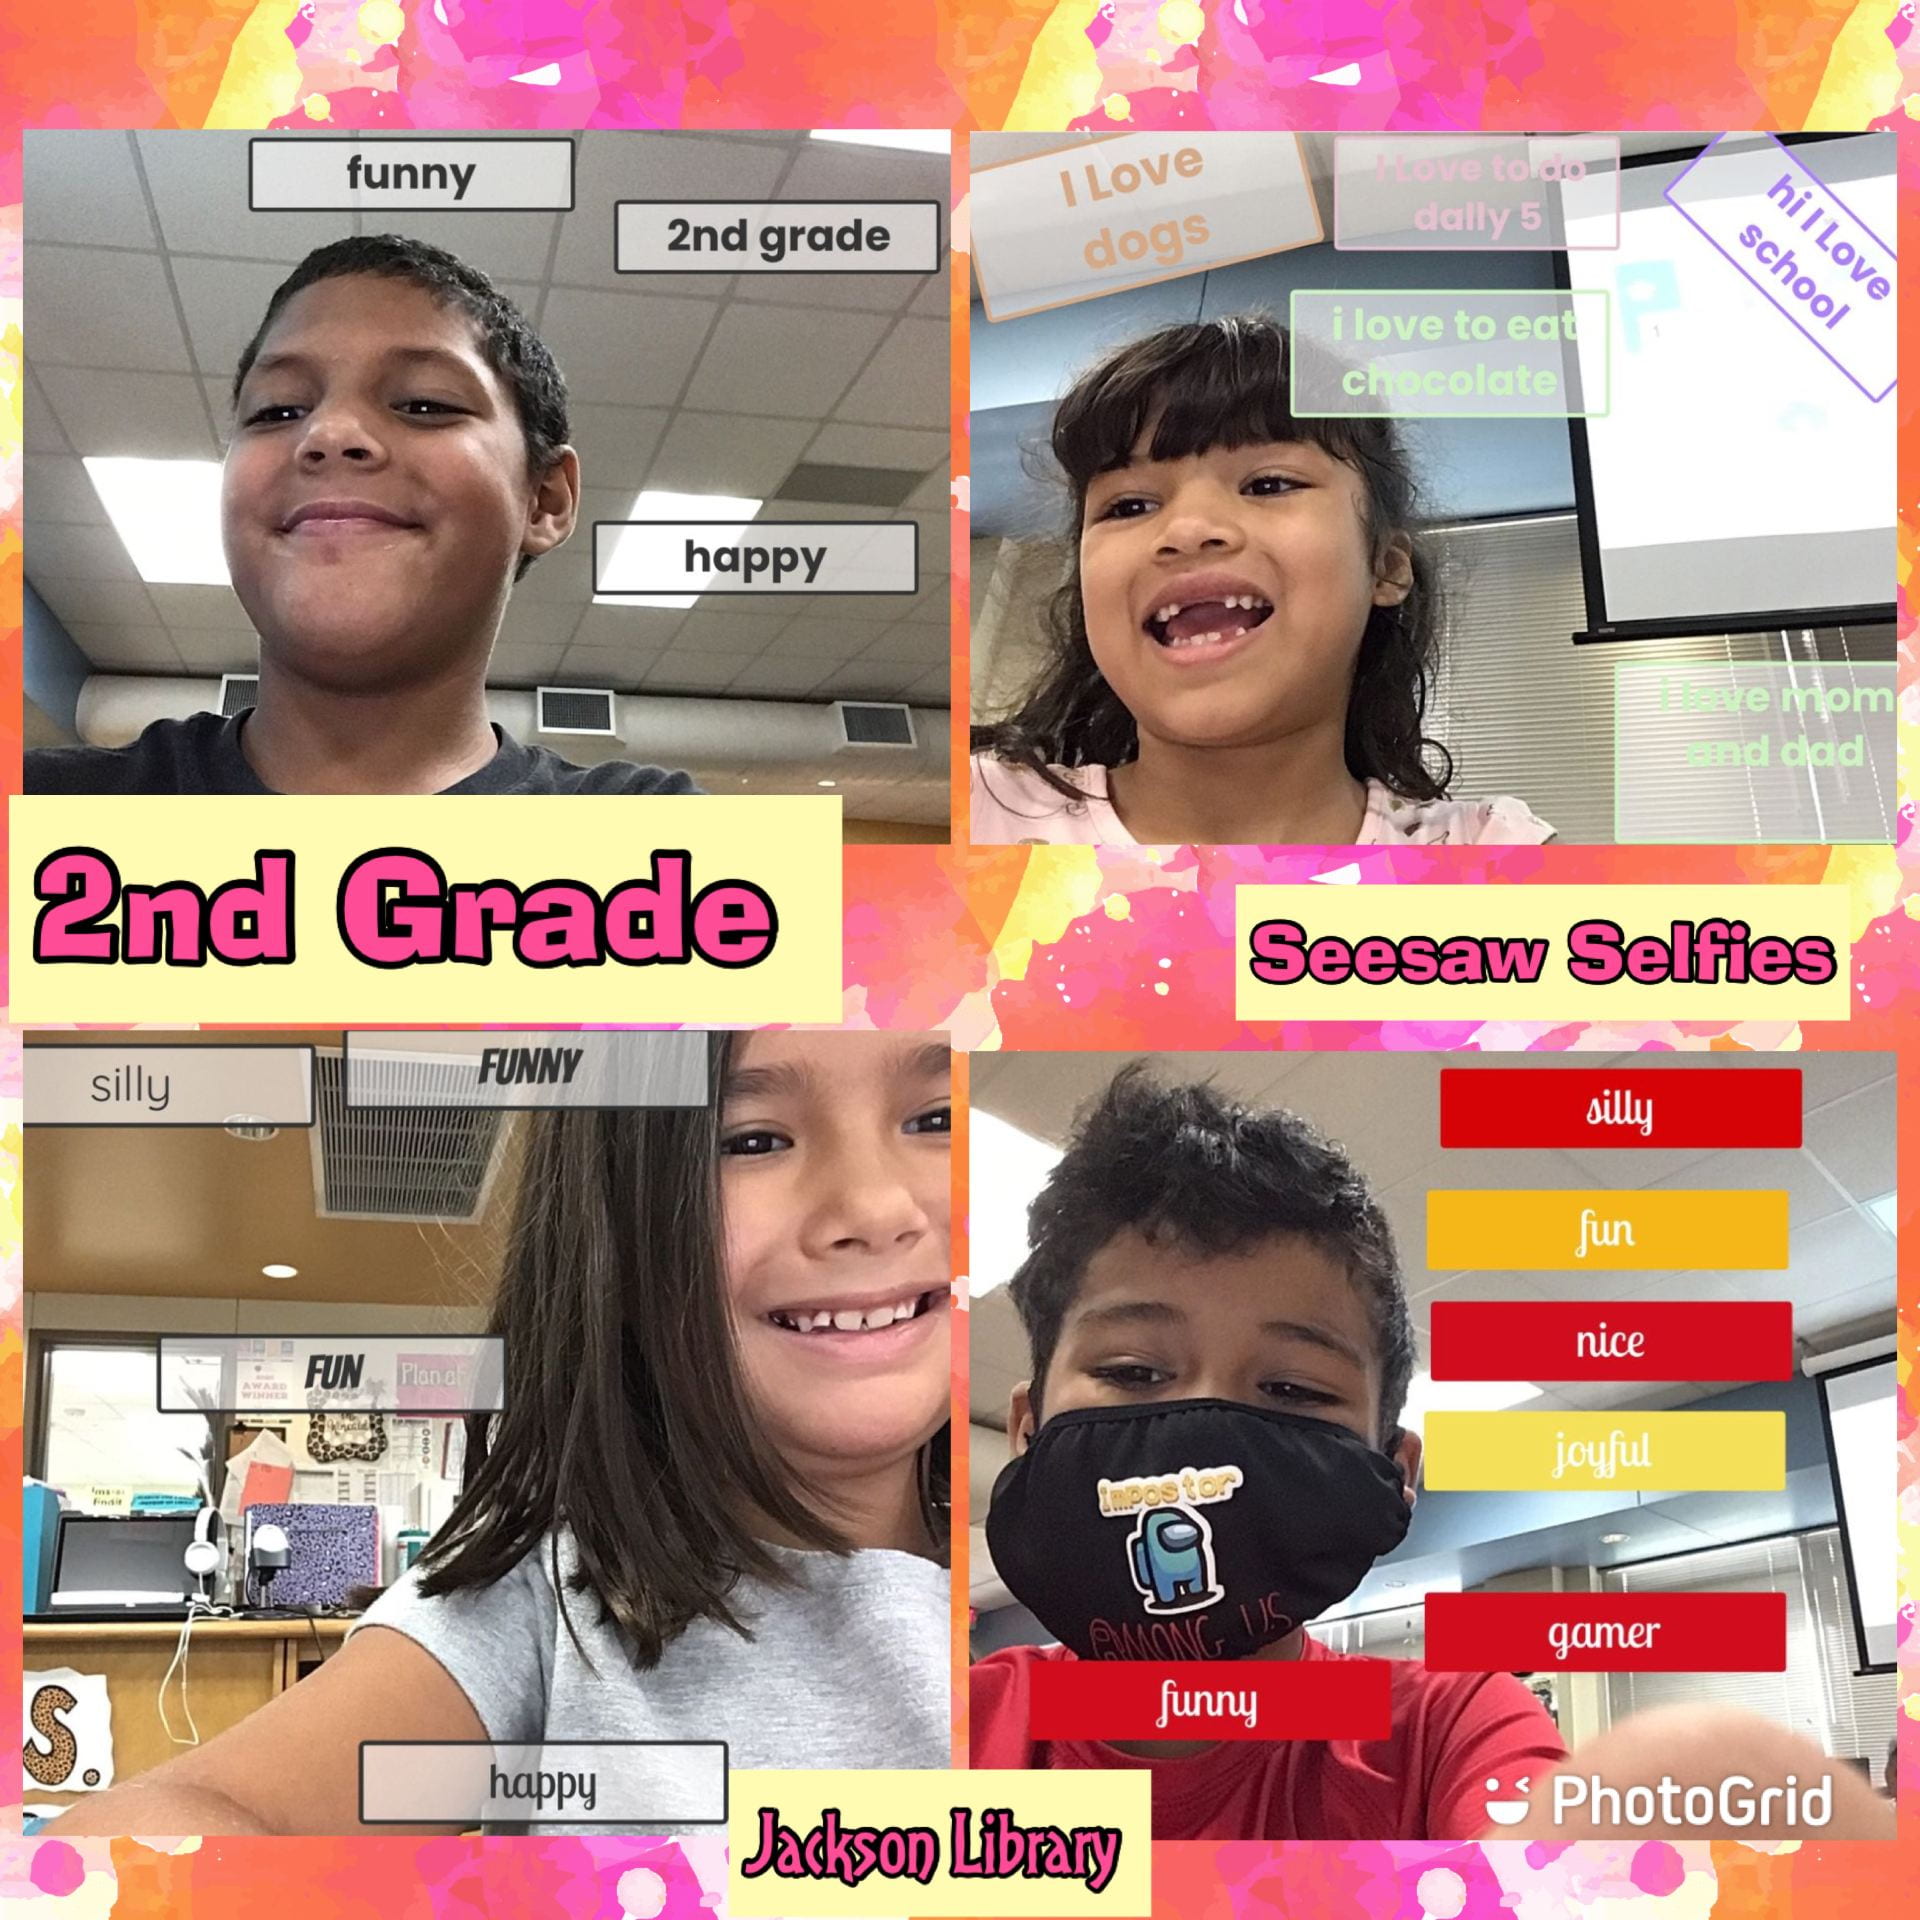
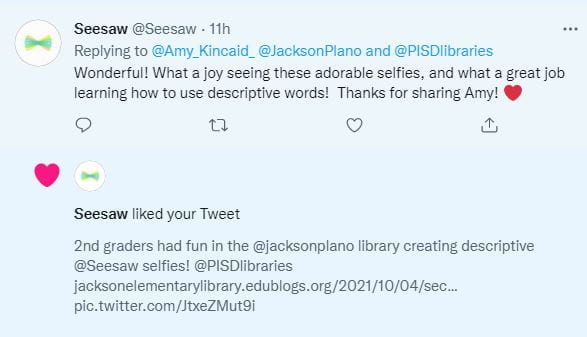
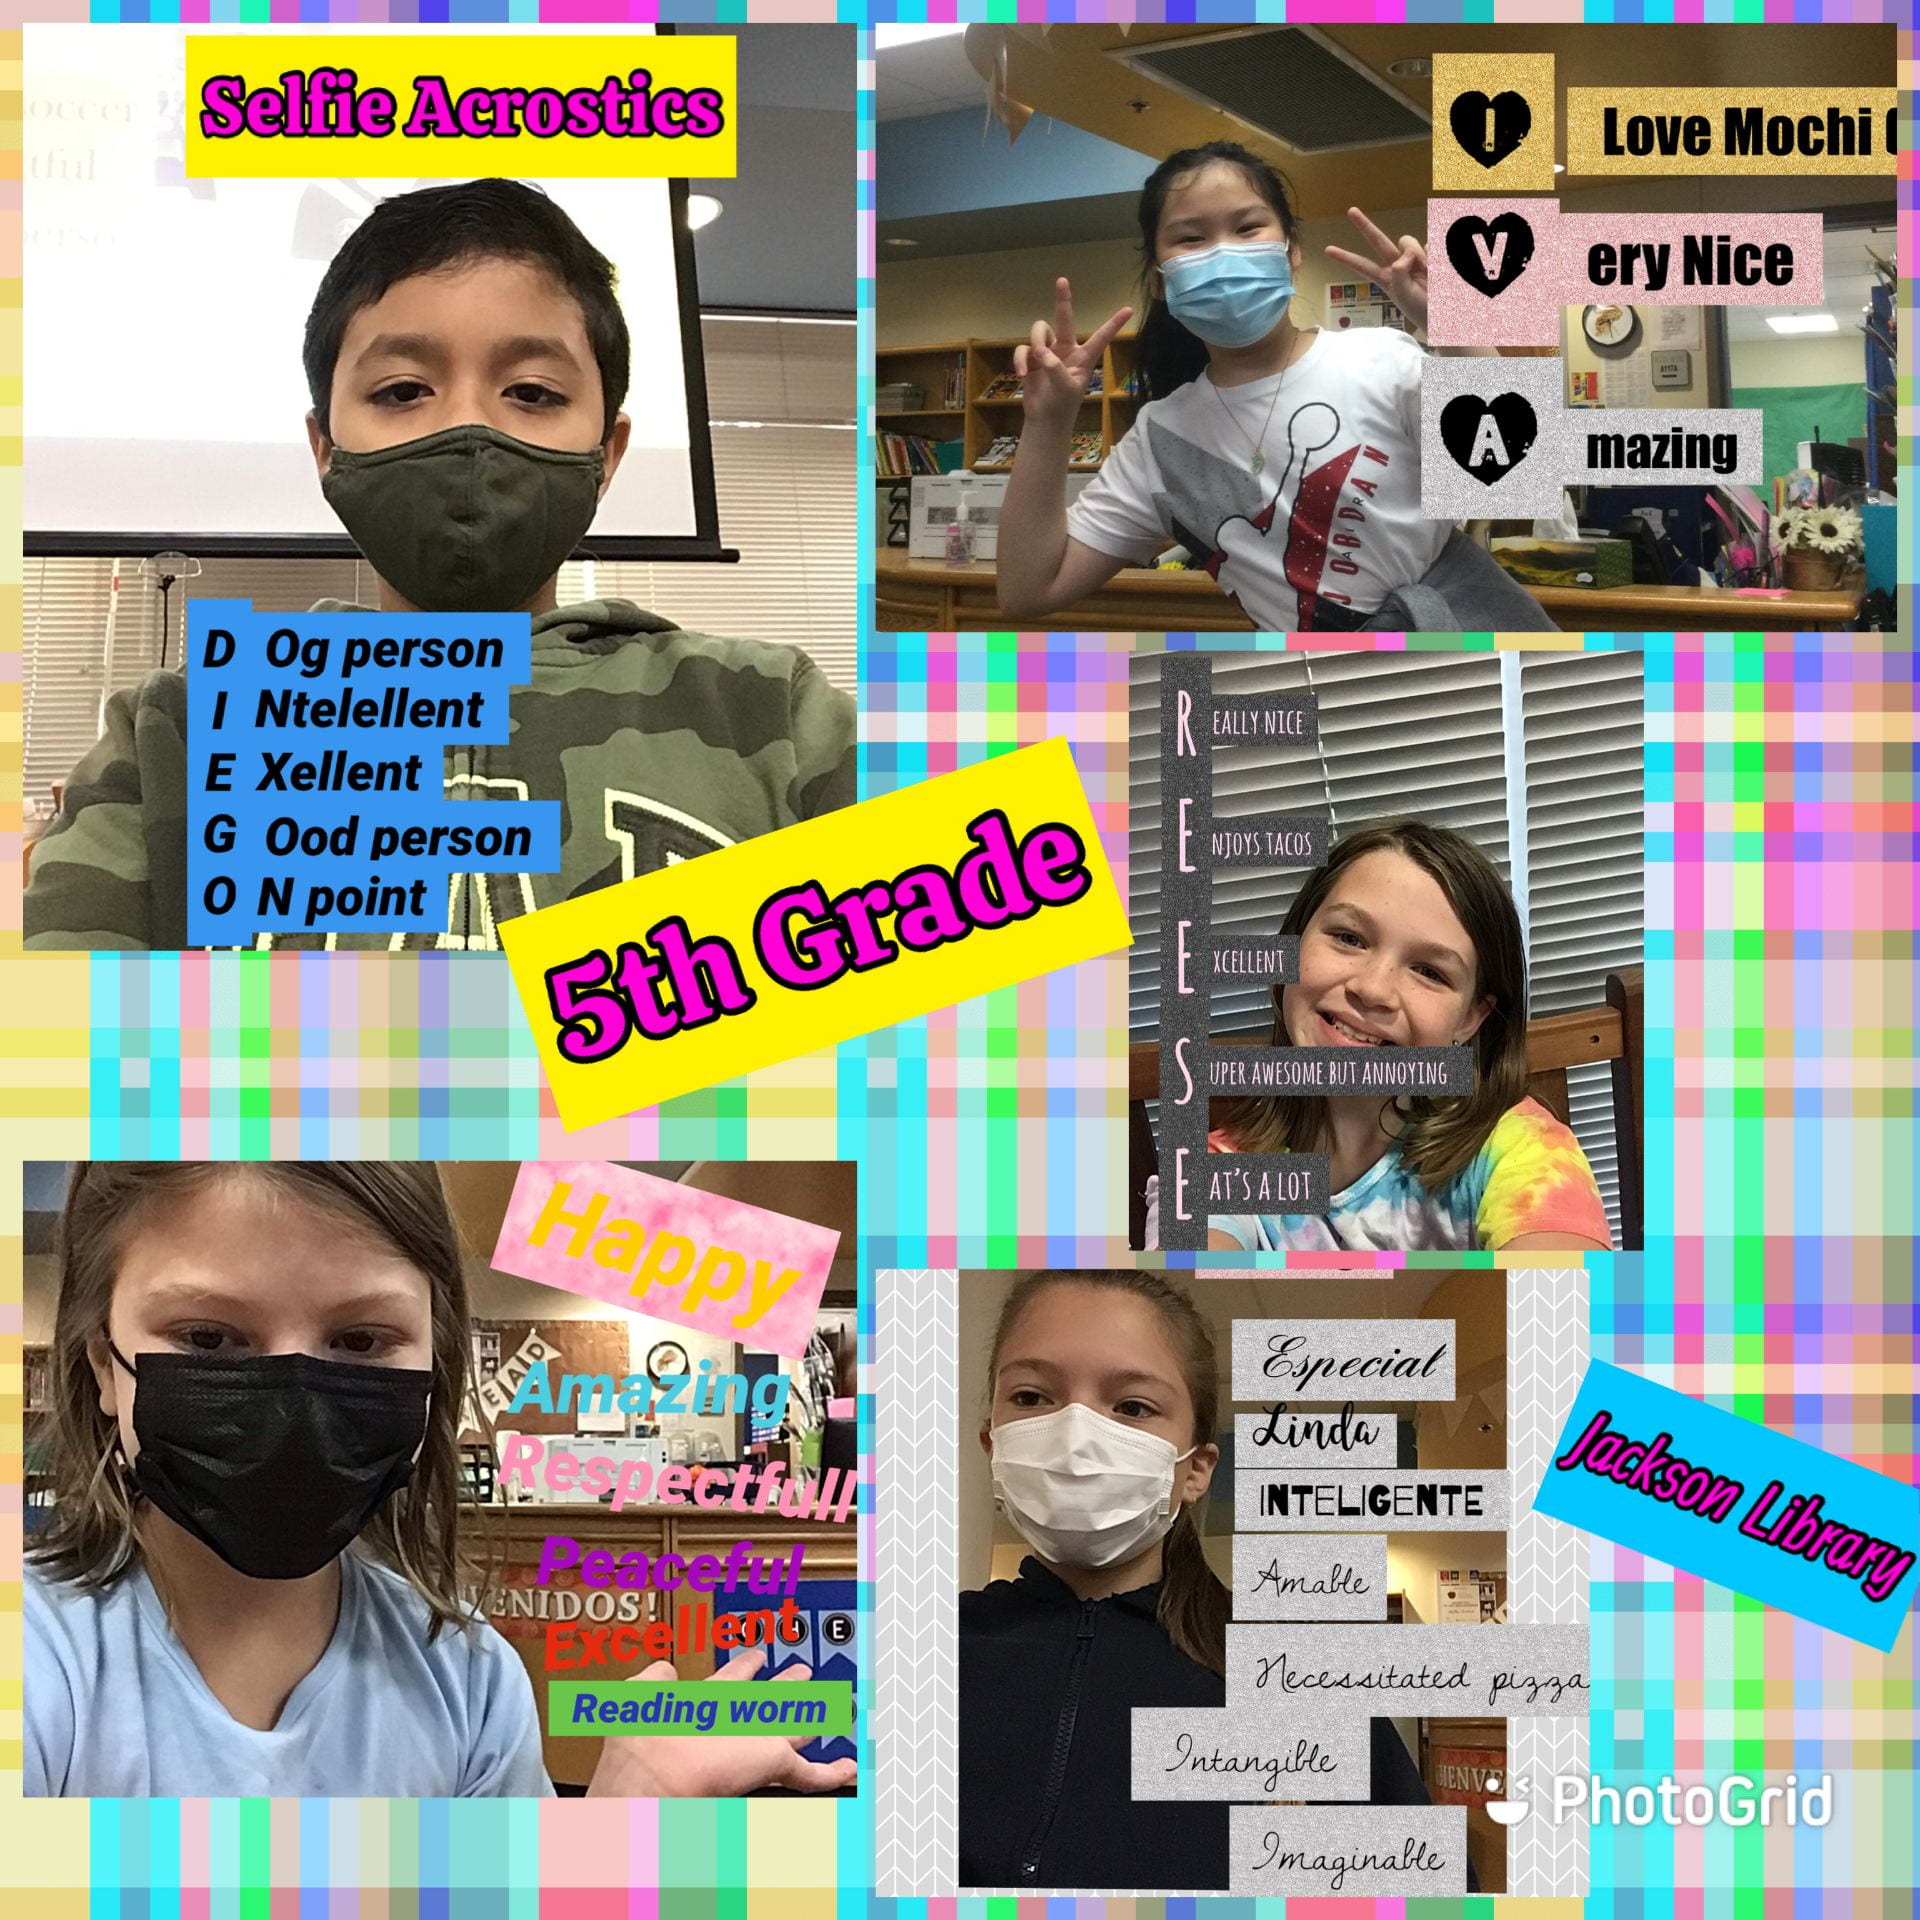
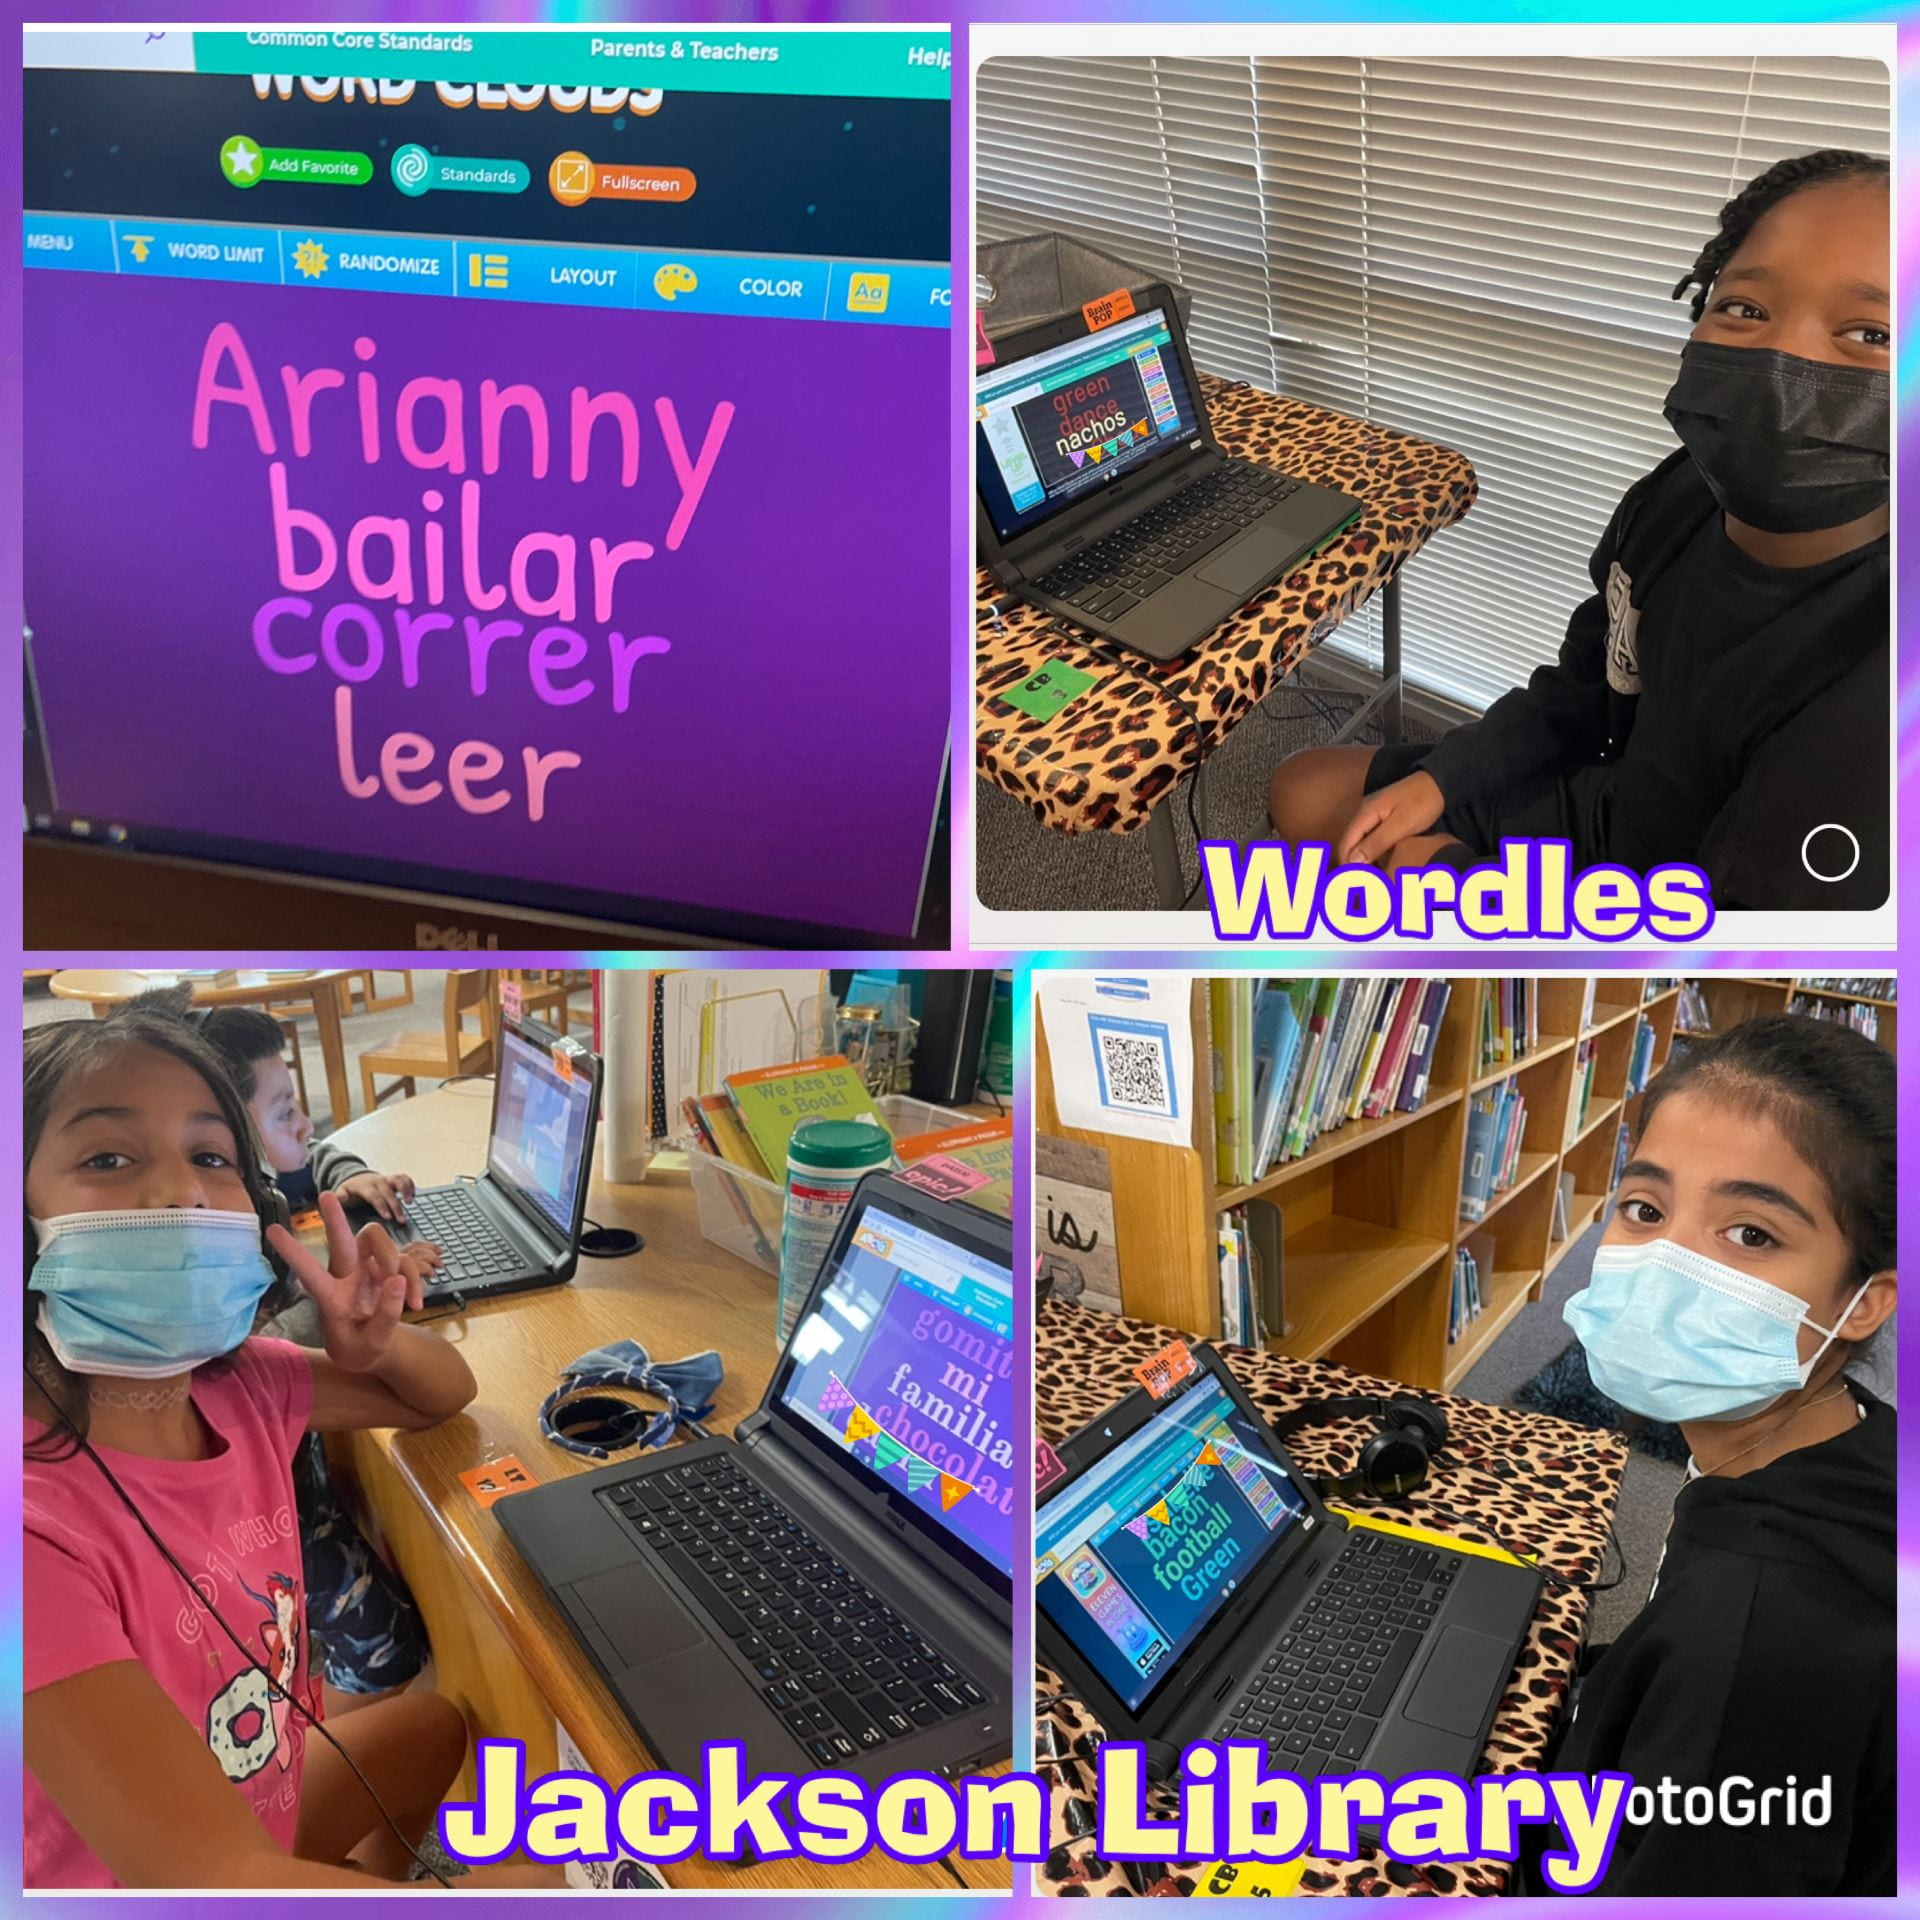
Fifth graders had fun in the library week before last creating selfie acrostics. It was a challenge to think of ways to use the letters in our names but it sure was fun!
Here are instructions I’m making for myself for when I forget how to do this next year!
These instructions are what I wrote down for myself after watching The Techy Coach’s video. It is not exactly like he says to do it (oops).
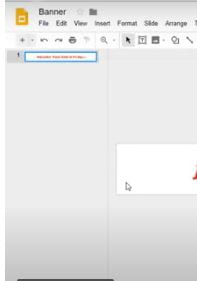
Create a new Google Slides presentation.
Go to the top menu bar: FILE – Page Setup
Change from (Standard) to: CUSTOM
Enter (size) – example: 10 x 1 – I messed w this further in the HTML after mine was finished (width 700, height 125) see HTML below
Type your message
Click TRANSITION button on top menu bar.
Select text box – click ADD ANIMATION
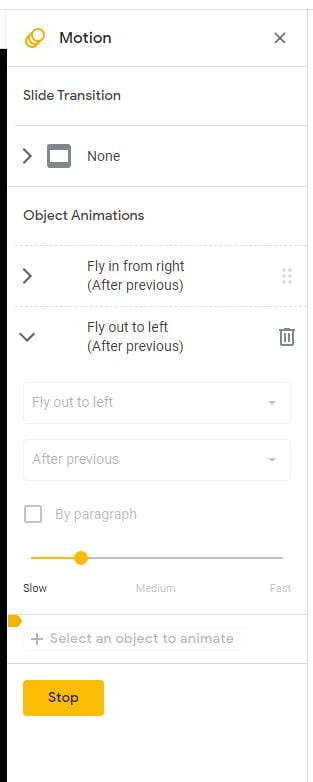
Add first animation: FLY IN FROM RIGHT (change to WITH PREVIOUS) – use slider to slow down (the one above I didn’t do correctly because mine is ‘AFTER previous’) oops 🙂
Add second animation: OUT TO LEFT (change to AFTER PREVIOUS) – use slider to slow down (move it almost all the way to the left)
10. Click PLAY to test your animations
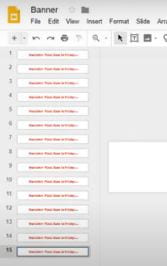
11. Now go to your side view in the left panel and right click- COPY
from The Techy Coach
12. Paste it about 10 more times (CTRL-V)
from the Techy Coach
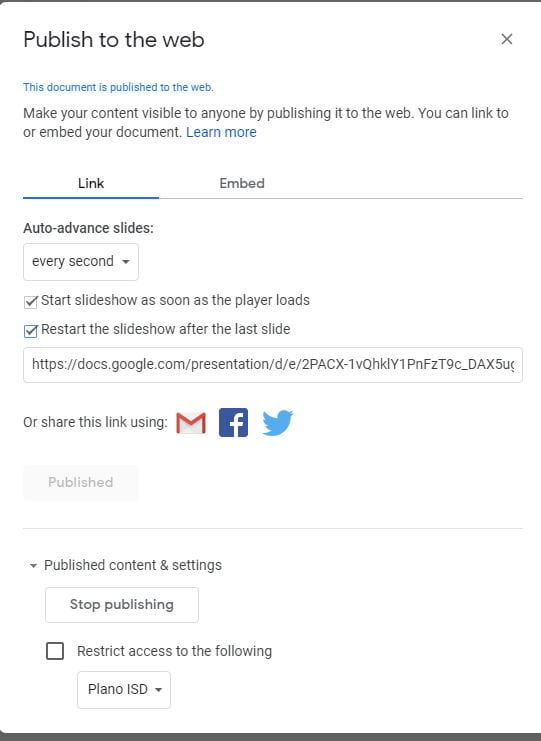
13. Choose FILE: Publish to the Web and adjust the settings as follows-
This is so it will “automatically launch in kiosk mode” (The Techy Coach).
14. I further adjusted the HTML to change the size parameters a bit for mine because it looked weird with the font I chose:
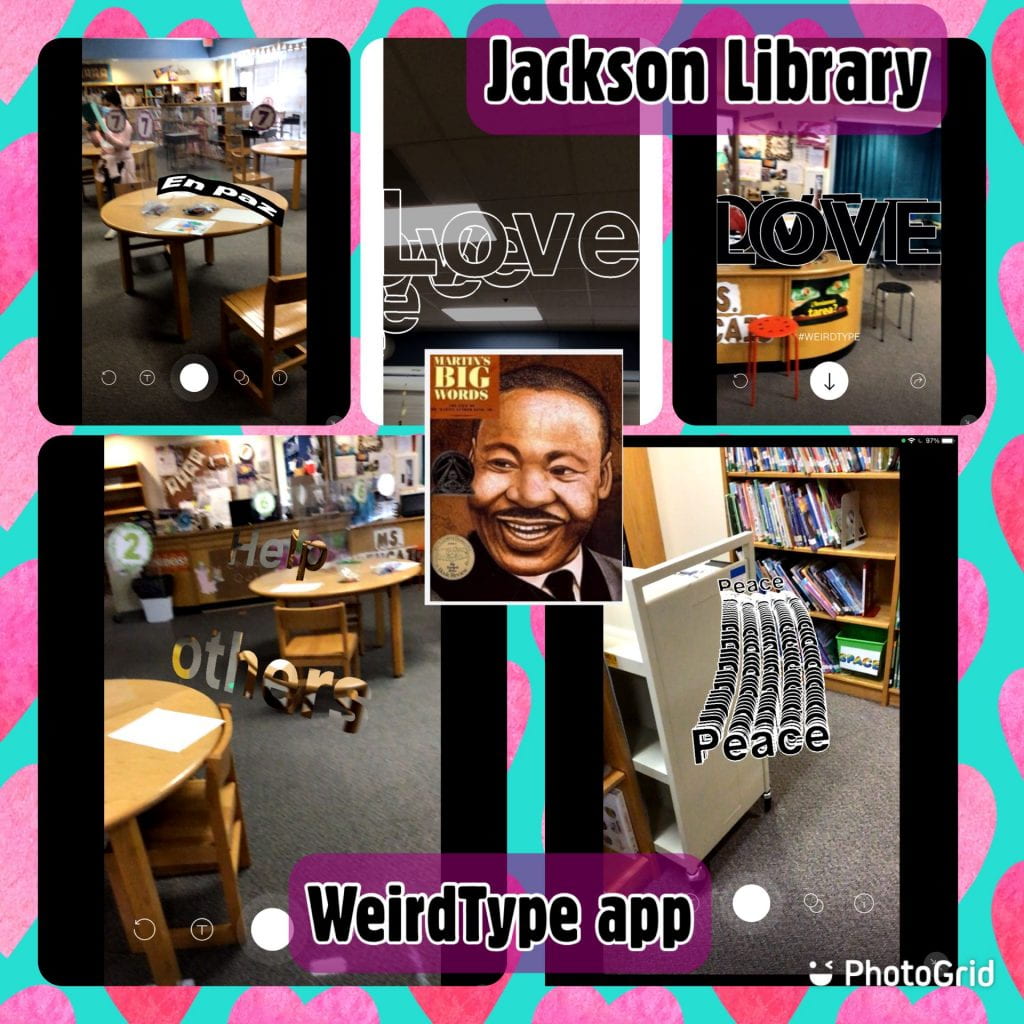
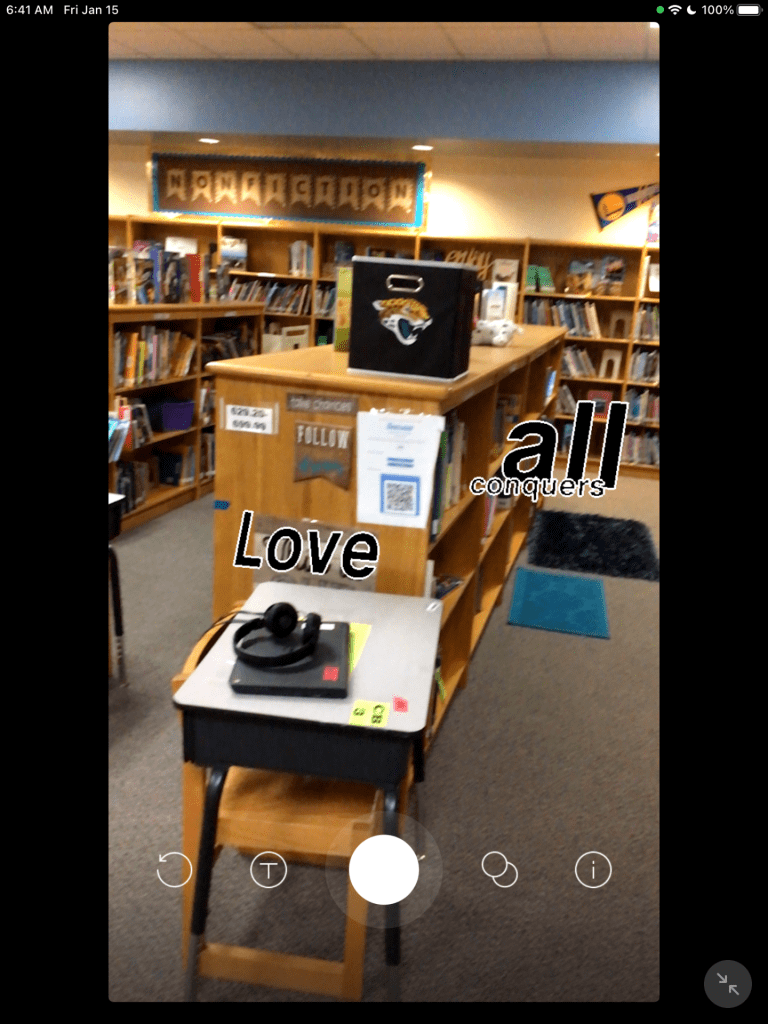
Last week in the Jackson Library, I read excerpts of the Martin’s Big Words book to third and fourth graders. We discussed the power of his peaceful, persuasive words and how Martin’s use of words caused laws to change to promote equal rights in America. They used the augmented reality app, WeirdType to use some of Martin’s words as art. Check out more about Dr. Martin Luther King Jr. and the WeirdType/Pokemon Go app designer below!
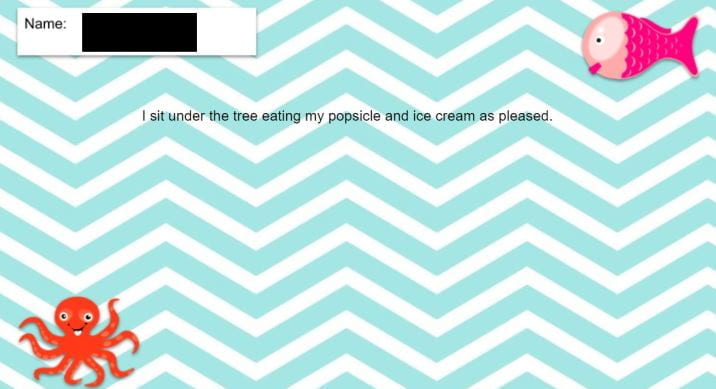
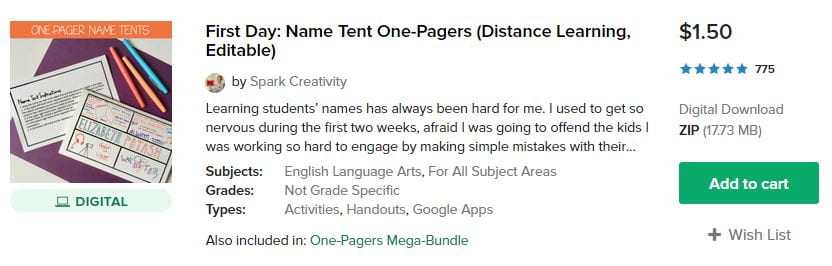
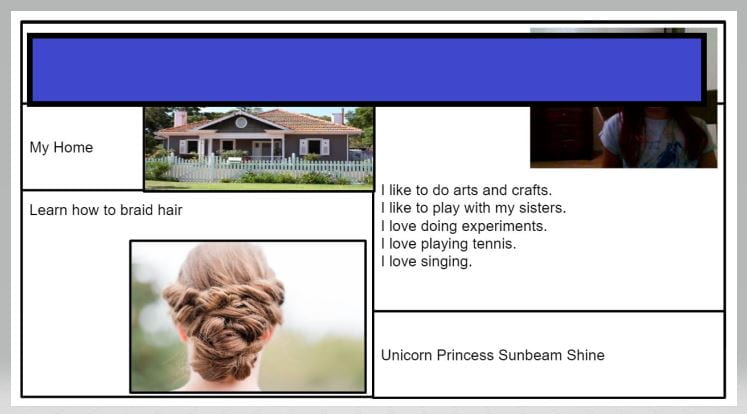
Thanks to Spark Creativity, Betsy Mork, for her digital name tent idea and Google Drive template! The fourth and fifth graders are loving it during remote learning! Just post in your Google Drive, share it with your students, and share the link to it in your Google Classroom! The kids love it. Check out their creativity!
STEPS to post this assignment to your Google Classroom:
Download the zip file to your C Drive
Choose the Google Drive Editable Printable file
Click the ENABLE EDITING button
Right click on the assignment link
Choose OPEN LINK
It will ask: Would you like to make a copy? Click the blue MAKE A COPY BUTTON of Hi My Name Is
The template will open. Click on the name of the file and rename it for your class
Go to your Google Classroom
Click the black +CREATE button
Choose ASSIGNMENT
Create the title and type the instructions
Click ADD LINK
Paste the link to the renamed assignment in your Google Drive. If you can’t find the link, click SHARE again on the assignment in Google Drive to get it, copy it, and go to ADD (paperclip) under your assignment description and paste the link.
When you add the assignment link, be sure to use the drop down menu next to it to choose EACH STUDENT WILL GET A COPY
Change the menu settings on the right:
TOPIC: Is Week (1): August 17-21
POINTS: I put UNGRADED
STUDENTS ASSIGNED – I don’t assign it to certain stu
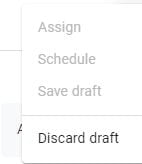
AT THE TOP: Click black ASSIGN button to get the pull-down menu
Choose SCHEDULE and set the date you want the students to receive the assignment
If you change your mind when you want it to be assigned, you can go back to the black ASSIGN button and go to SCHEDULE and change the date.
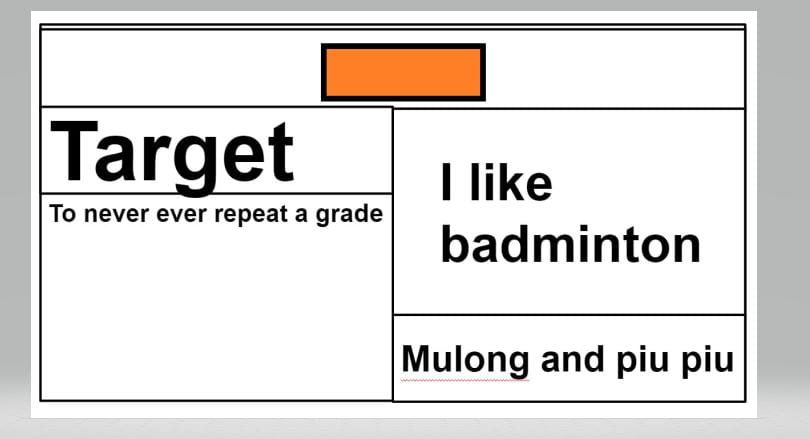
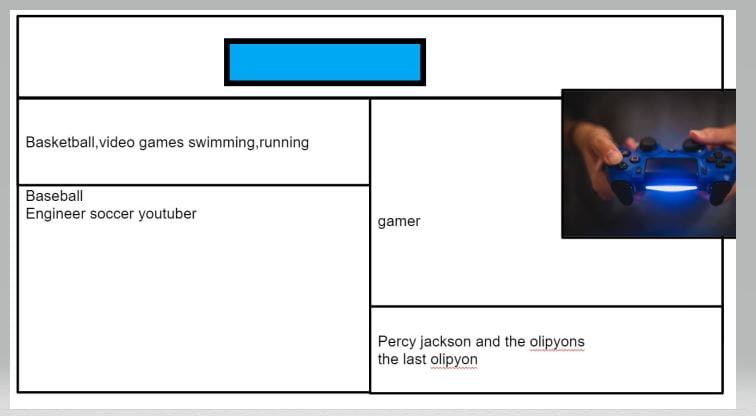
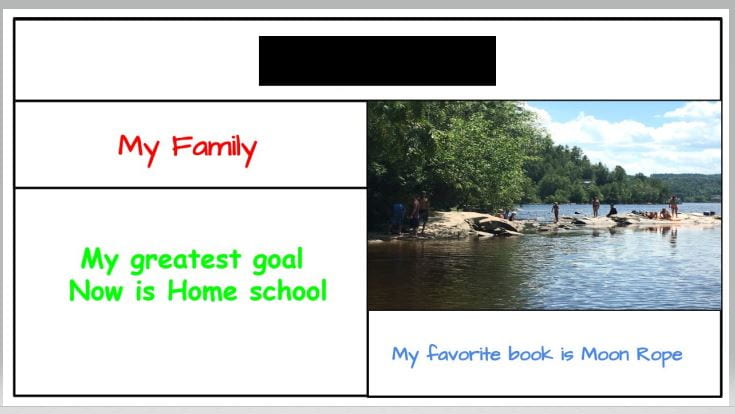
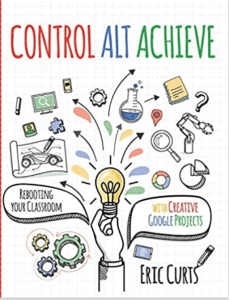
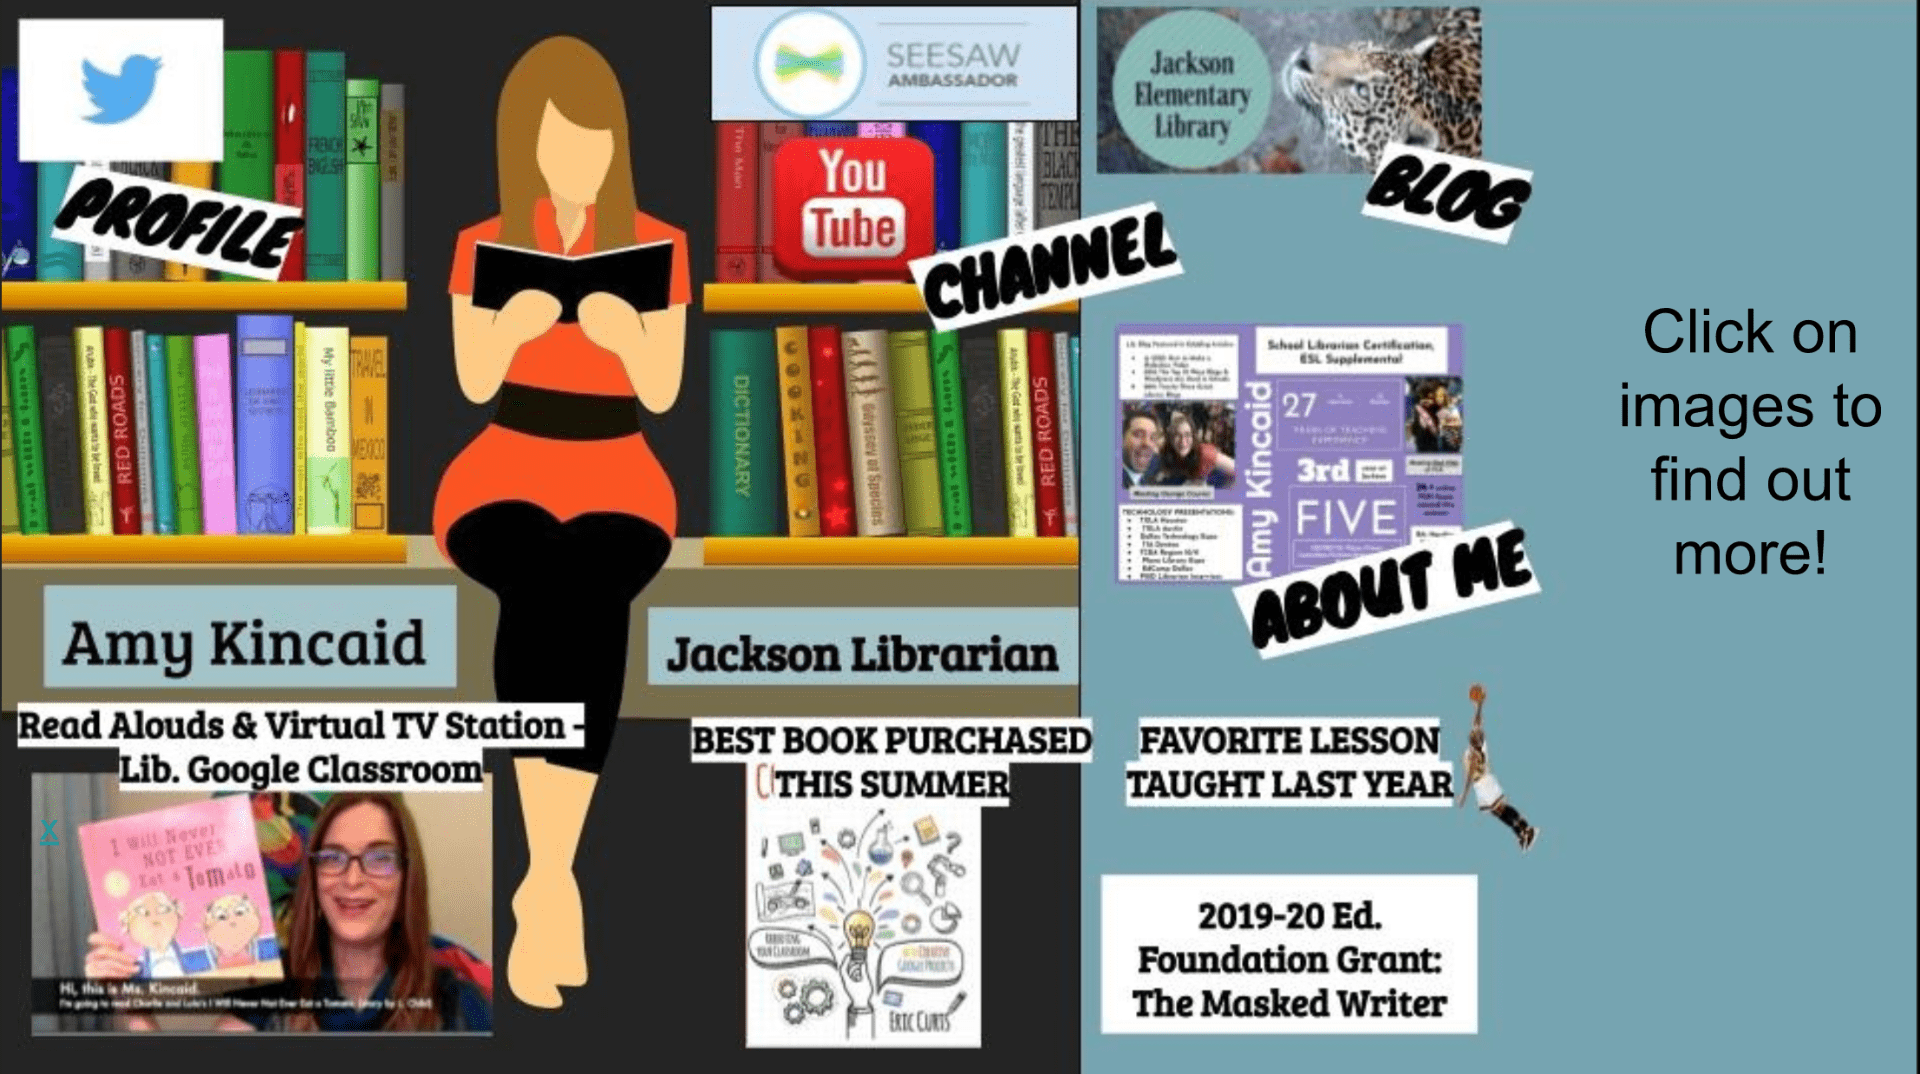
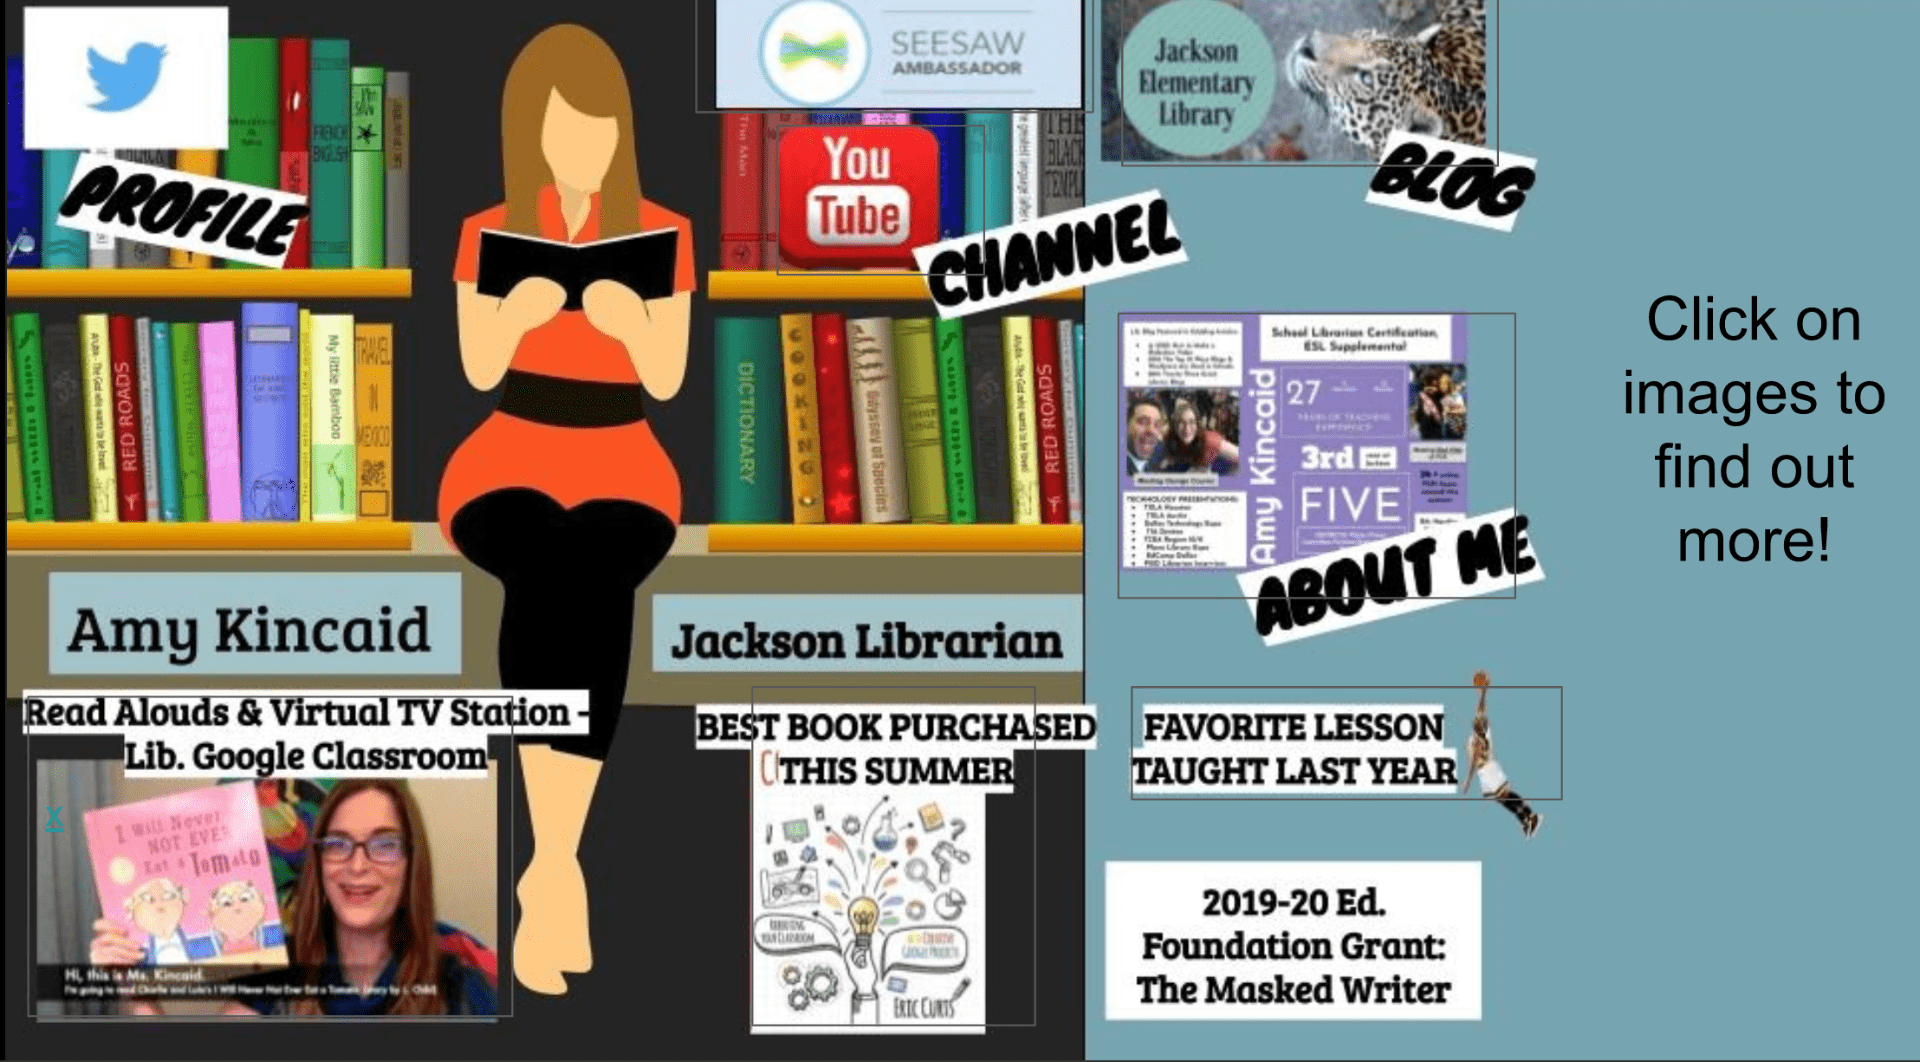
Best purchase this summer? Eric Curts’ Control Alt Achieve professional book! In part 27, he shows how to make Googlink Interactive Images. I did this incorrectly several times before producing something acceptable so I will share some tips! I made an ‘about me‘ one for our new principal and new staff members.
Click to view
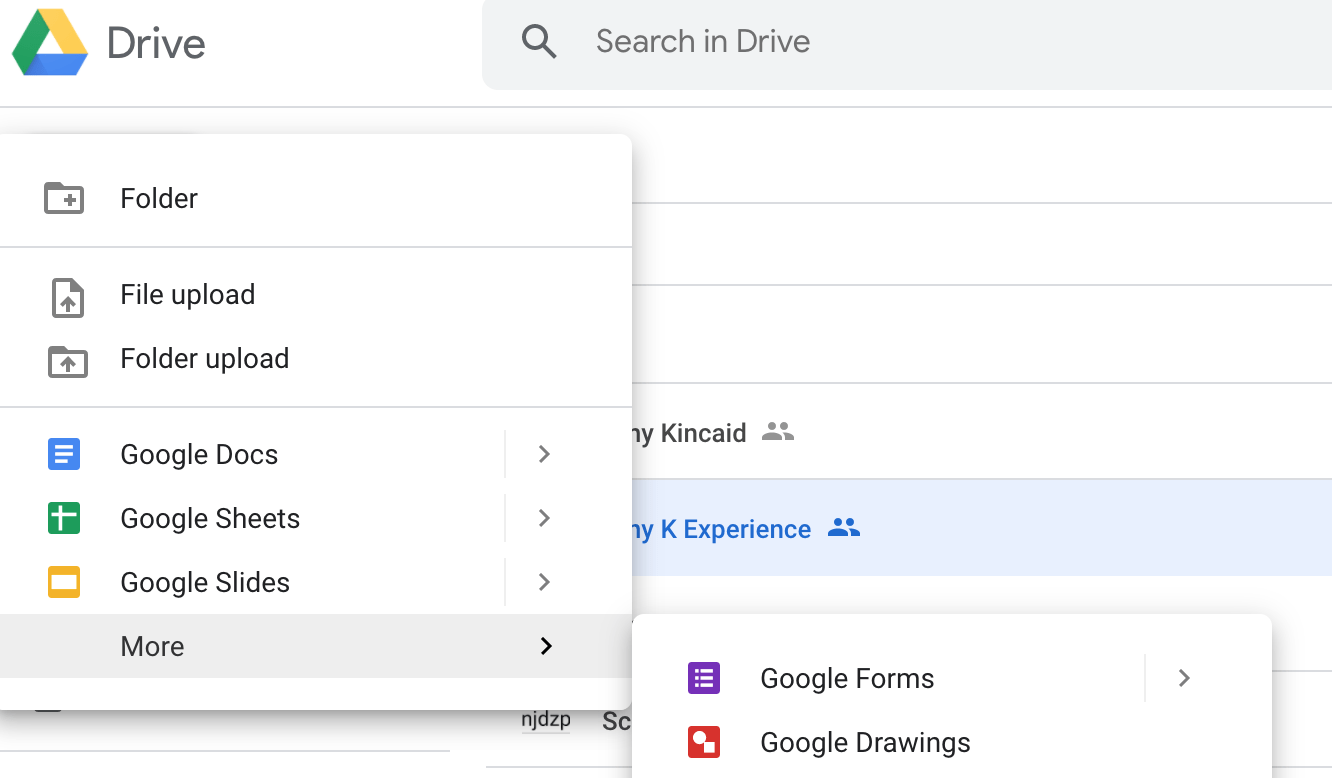
Go to your drive and NEW + (on the right)- go to MORE and locate Google Drawings. I tried to find Drawings in the 9 dot menu on the right and didn’t see it there.2. Open drawings and begin building your picture. Be sure to locate copyright-free pictures from a reputable source. I like to use Pixabay. Insert pictures by using the toolbar menu: INSERT: image. You can add pictures-on-pictures. Plan out everything you want to add. I’m making an ‘about me’ so I added the Twitter icon, blog icon, etc.
When finished, Go to FILE – download – as JPG
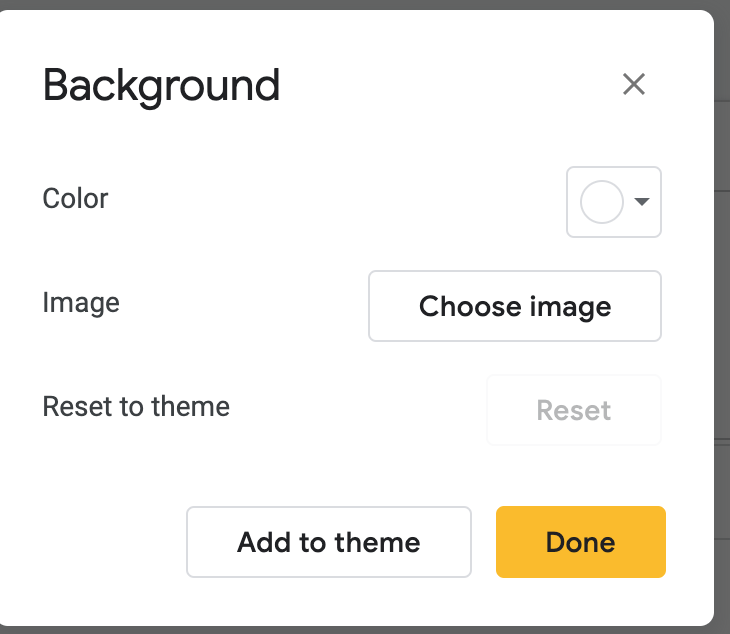
Open a new blank Google Slide document
IMPORTANT: Go to insert BACKGROUND and find your jpg-Do not, do not just insert the picture – the sizing will be all wrong. I tried it. It will also just move around when anyone tries to click on anything. It is a mess.
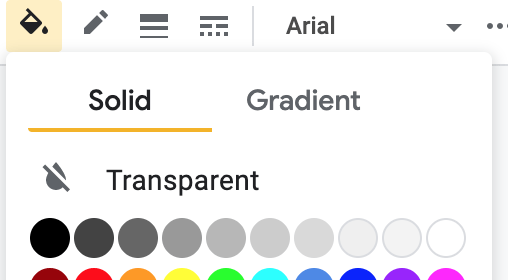
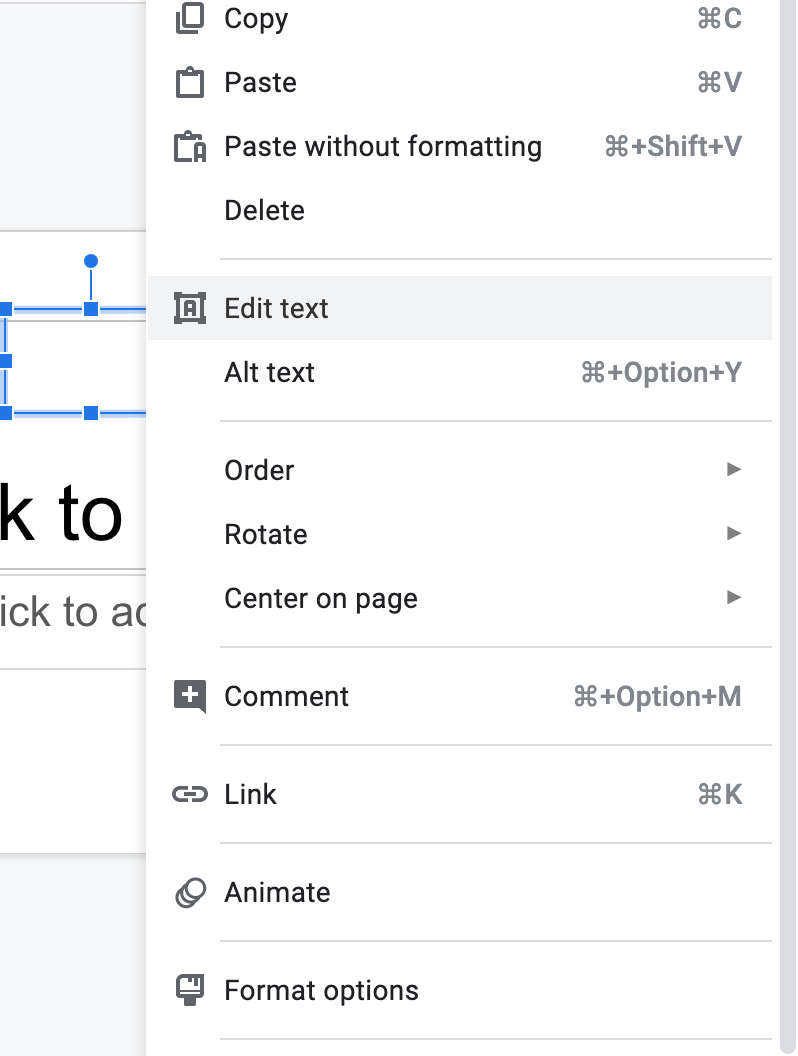
Now find an image you want to link. Go to INSERT text box and make it transparent:
Right click and choose INSERT – LINK. Paste the link you want there.
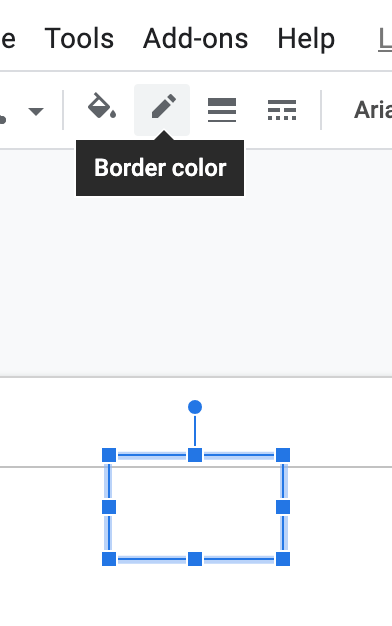
Click on this symbol to make the border color of the text box transparent.I forgot to do this at first and you could see the little boxes around the symbols:Nooooooooo – so make them transparent! You can go back and do this at the very end if you want.
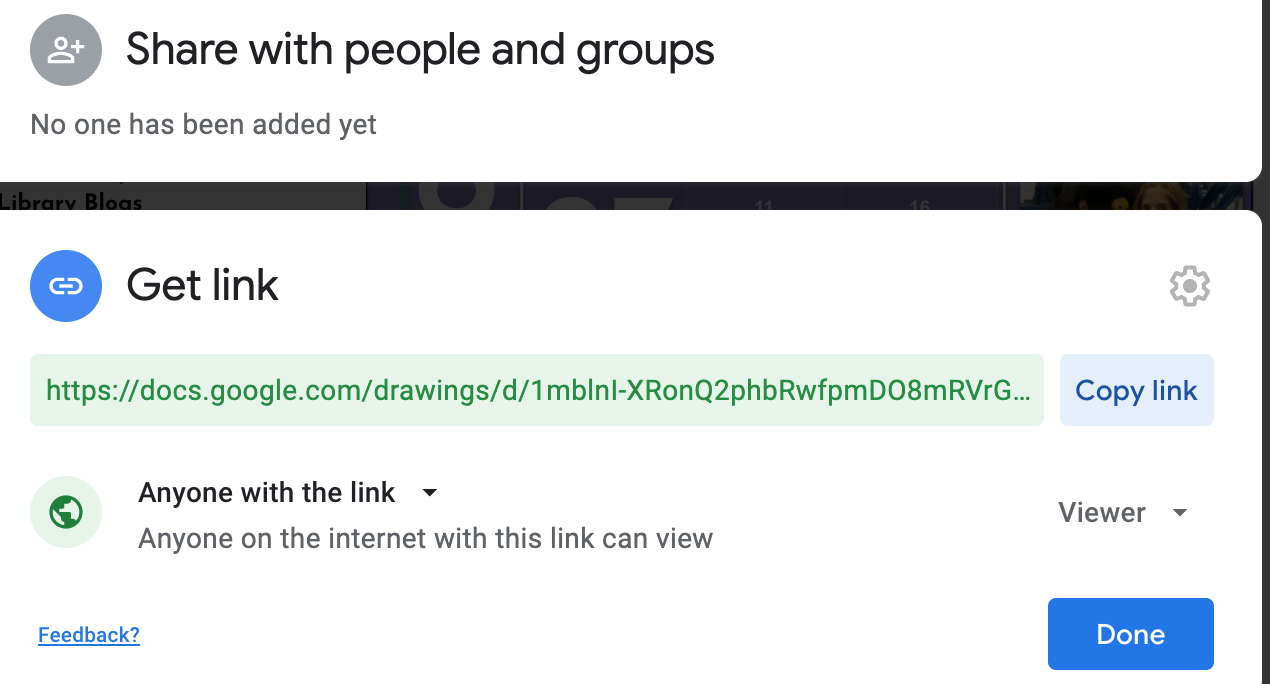
IMPORTANT: If you are linking to a file in Google Drive, be sure to share it correctly first. I made mine public. Click on the blue words to change with whom you share.9. Be sure to adjust the sharing settings of EVERYTHING you share: other Google documents, photos, audio files, etc.
For example, I made this Google Drawing to go in one of the links. After you create it in Drawings, click ‘Download’ and choose as ‘JPG’. Upload this JPG to your Google Drive.
ADJUST the sharing settings of this JPG to ‘public’ or ‘only ppl w the link’
Note: you can type on the Google Slide to provide instructions if you need to. I added the ‘Click to find out about me.’
Now here’s where Eric Curts really helped me out:
SHARE YOUR CREATION IN PREVIEW MODE:
This allows it to open in full screen instead of the editing window.
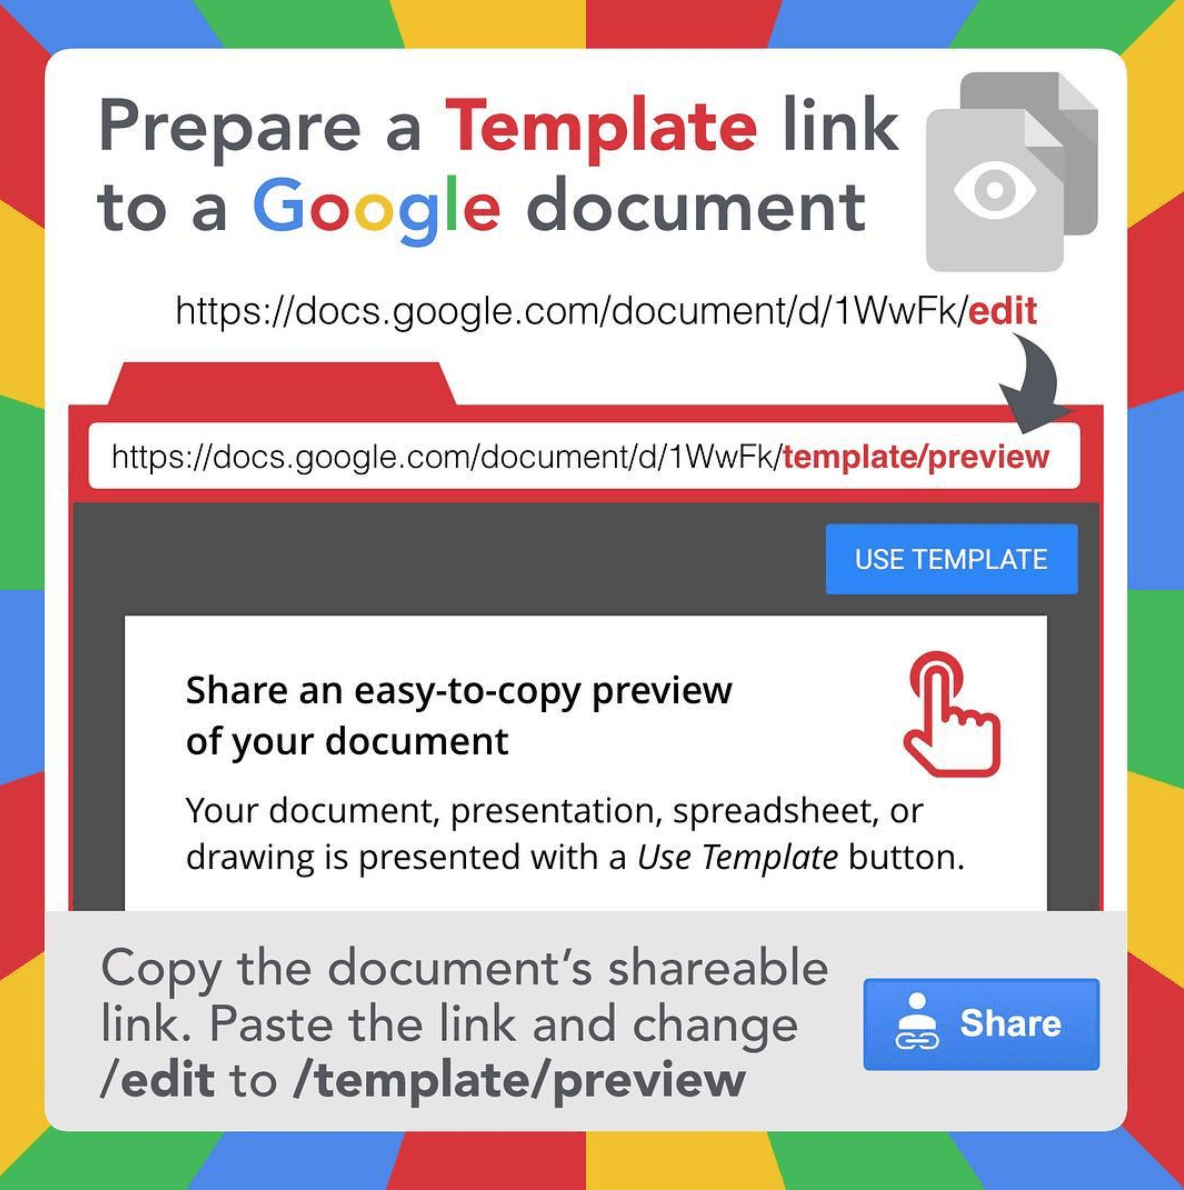
To do this: Click SHARE again and highlight the ‘edit’ part at the end of the line:
Now change that to ‘preview’
Done! Eric reminds us that when you send someone the link, all of your hotspots will be ready to be clicked. (p. 85, Control Alt Achieve, Eric Curts, Dave Burgess Consulting, 2020)
Double check: Did you share: docs, photos, audio, Google Drawings linked to the Google Slide? Did you share the Google Slide? Did you change the end of the link to preview or preview/template?
Same tip from Tony Vincent, but added benefit if you want a TEMPLATE: