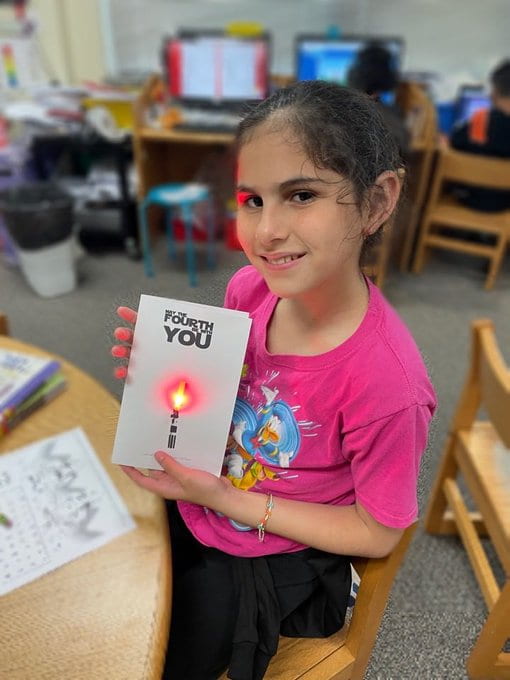
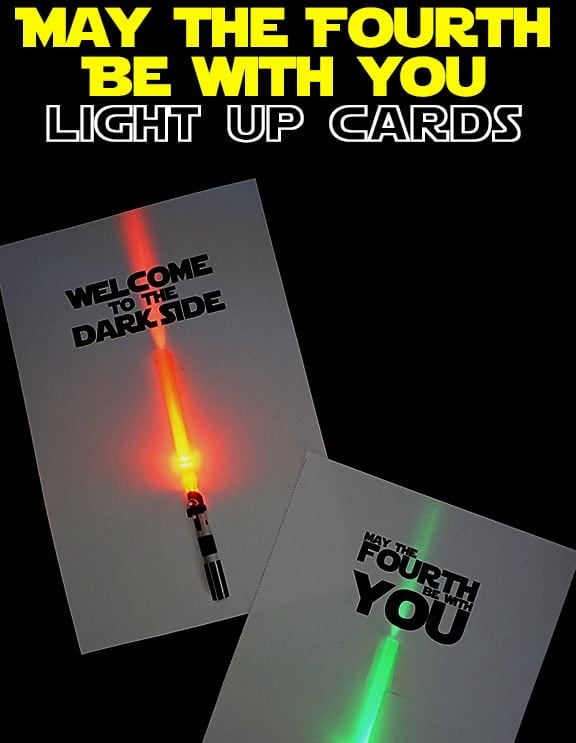
Today some kids had fun creating circuit cards in the Jackson Library. This awesome idea is from Left Brain, Craft Brain. Steps below!
Left Brain, Craft Brain Instructions
Follow Left Brain, Craft Brain on Twitter!
My instructions:
Learning is fun!
Posted in fun events, holiday, and science
Today some kids had fun creating circuit cards in the Jackson Library. This awesome idea is from Left Brain, Craft Brain. Steps below!
Left Brain, Craft Brain Instructions
Follow Left Brain, Craft Brain on Twitter!
My instructions:
Posted in remote learning, and technology
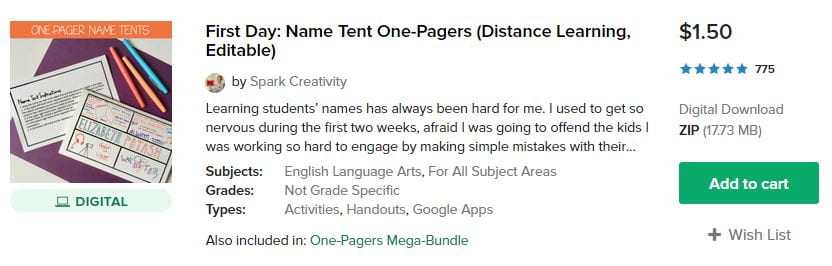
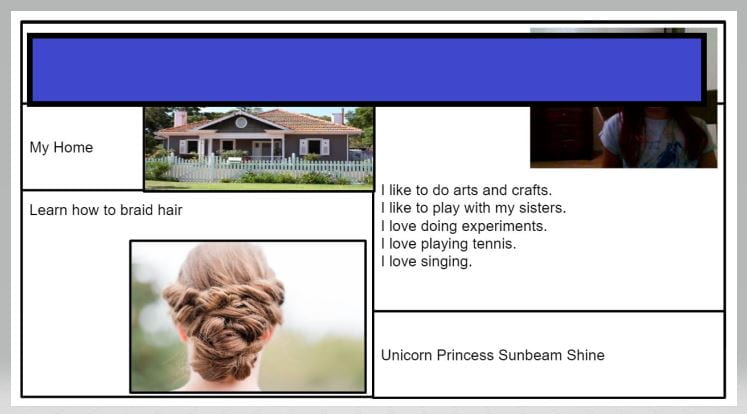
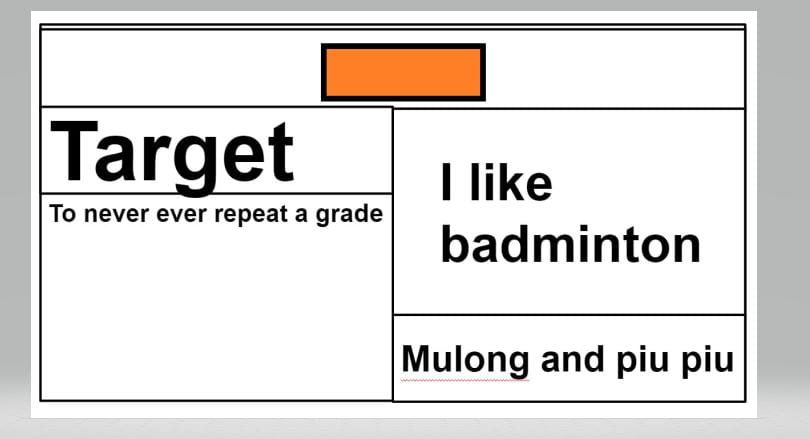
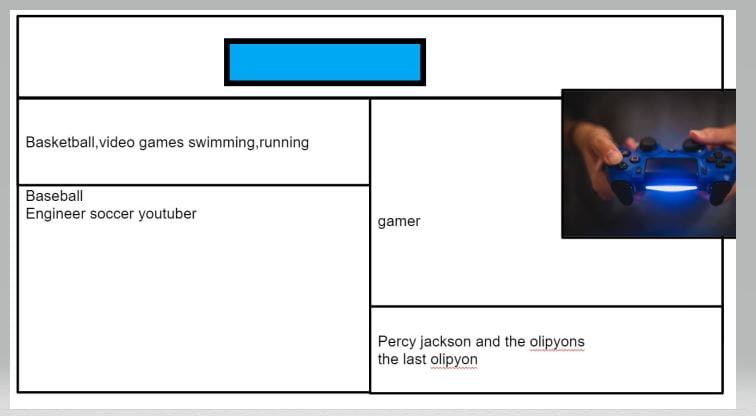
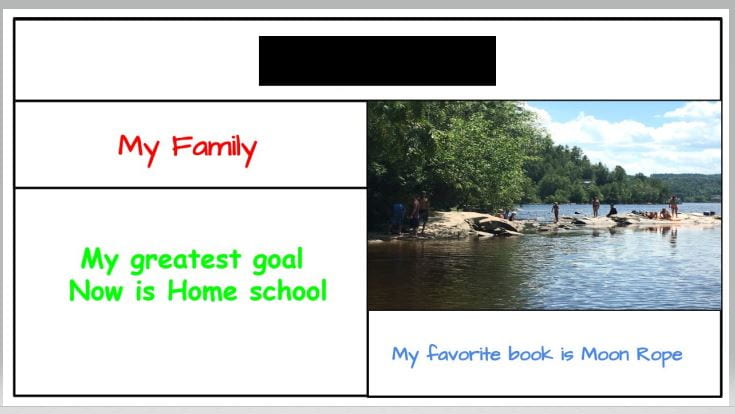
Thanks to Spark Creativity, Betsy Mork, for her digital name tent idea and Google Drive template! The fourth and fifth graders are loving it during remote learning! Just post in your Google Drive, share it with your students, and share the link to it in your Google Classroom! The kids love it. Check out their creativity!
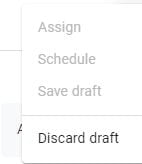
STEPS to post this assignment to your Google Classroom:


Check out Betsy’s awesome blog!

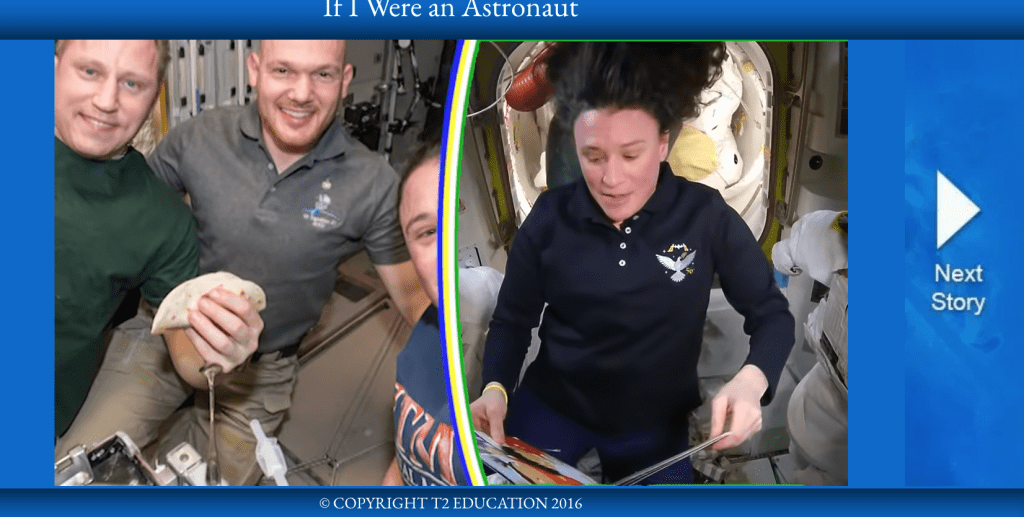
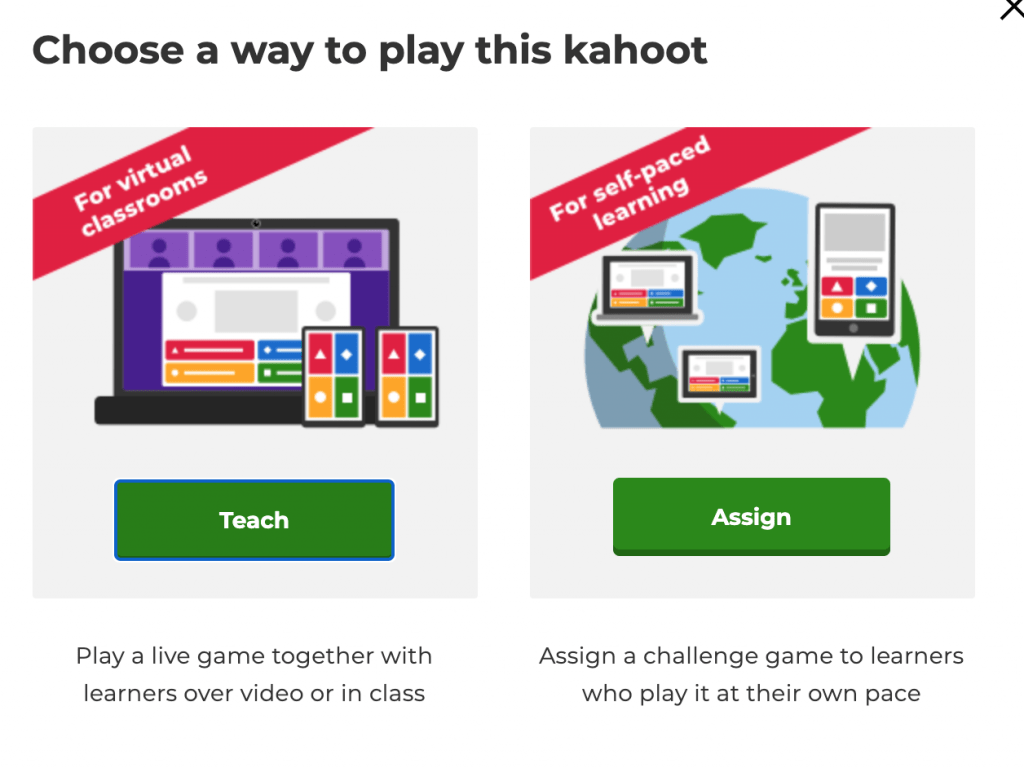
Did you know? You can assign a Kahoot game to be played when students have time during remote learning? Did you know? Astronauts provide read alouds in space! Here’s the info:
Here’s an astronaut reading the book: If I Were an Astronaut.
Here’s how to play the asynchronous Kahoot game:

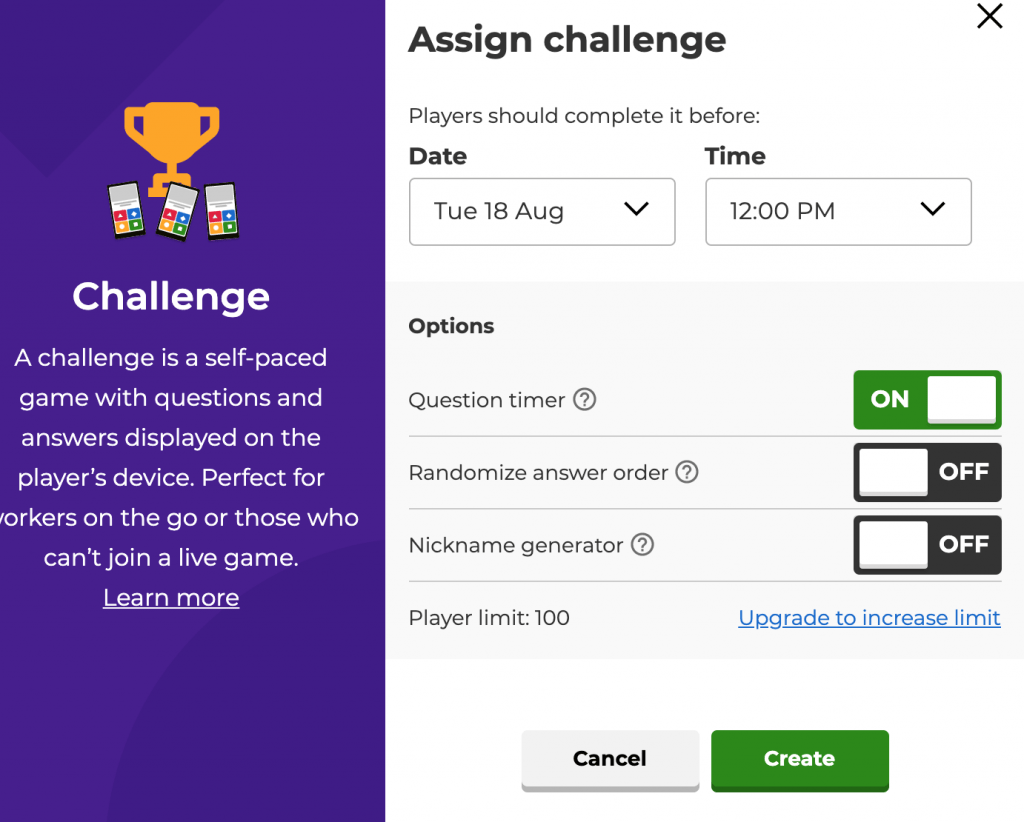
6. Copy the URL to give to the kids.
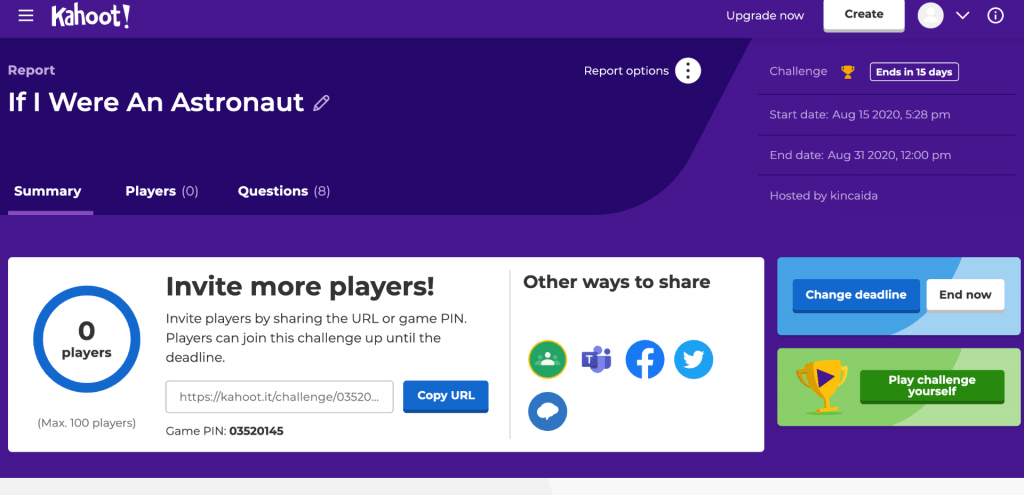
Here’s the game I made for the kids to play to go with If I Were an Astronaut:


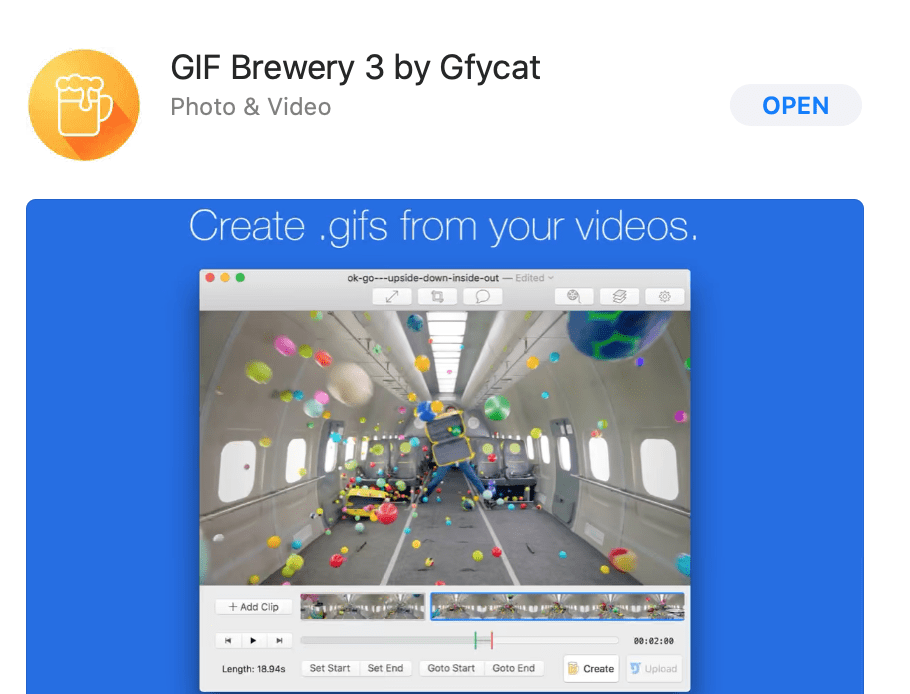
Here’s how you can make your own GIF to put in Google Slides:
2. Upload it to a GIF-maker app. Mac offers these in their app store:

3. Upload the GIF to the Unscreen web app and remove the background.


4. Upload your finished file to Lunapic. Choose ANIMATIONS from the menu at the top. Click EDIT GIF animation. Click drop down menu next to LOOPING and choose how many times you want the GIF to loop. Click APPLY.

5. SAVE it and import it into Google Slides.
You can move it and resize it there.
Posted in PD, and technology
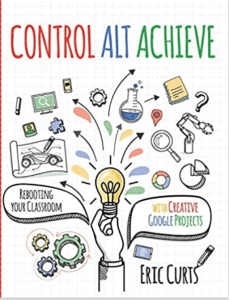
Best purchase this summer? Eric Curts’ Control Alt Achieve professional book! In part 27, he shows how to make Googlink Interactive Images. I did this incorrectly several times before producing something acceptable so I will share some tips! I made an ‘about me‘ one for our new principal and new staff members.
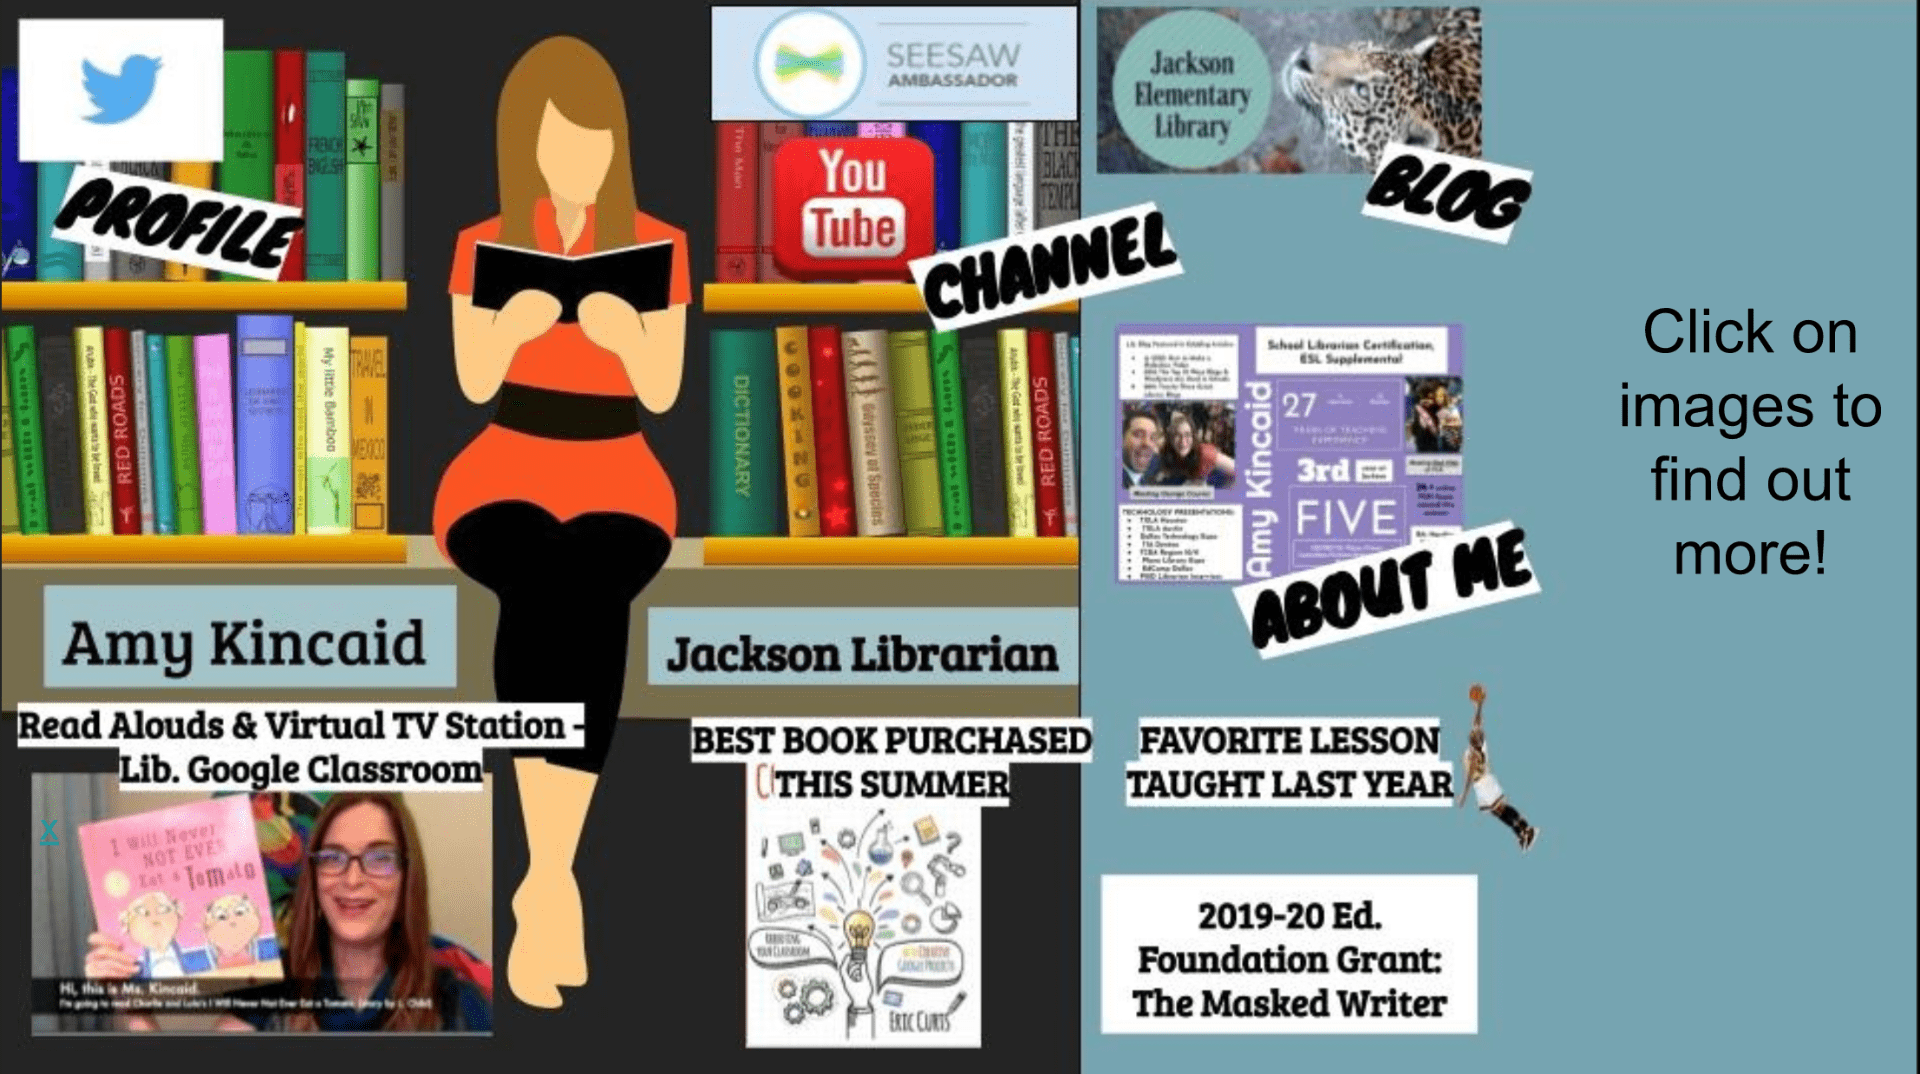
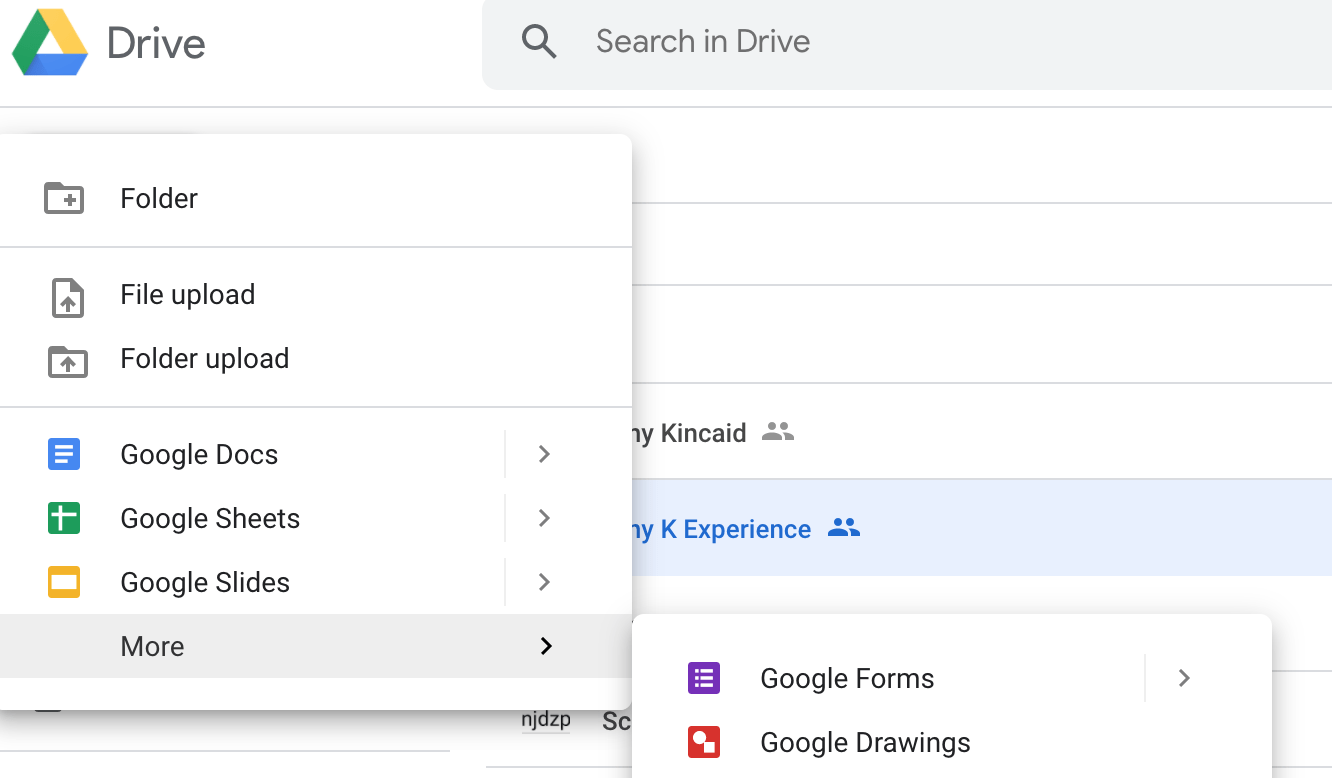 2. Open drawings and begin building your picture. Be sure to locate copyright-free pictures from a reputable source. I like to use Pixabay. Insert pictures by using the toolbar menu: INSERT: image. You can add pictures-on-pictures. Plan out everything you want to add. I’m making an ‘about me’ so I added the Twitter icon, blog icon, etc.
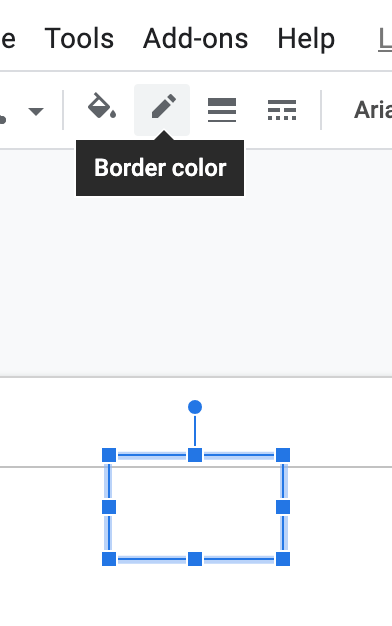
 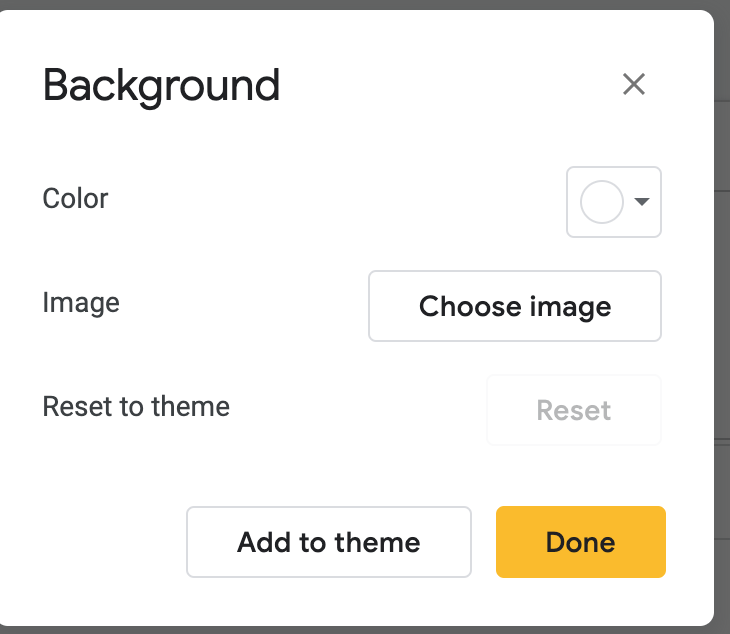 Do not, do not just insert the picture – the sizing will be all wrong. I tried it. It will also just move around when anyone tries to click on anything. It is a mess.
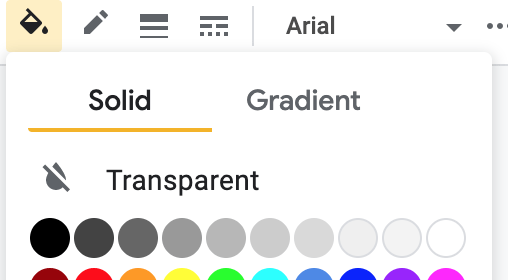
 I forgot to do this at first and you could see the little boxes around the symbols:
 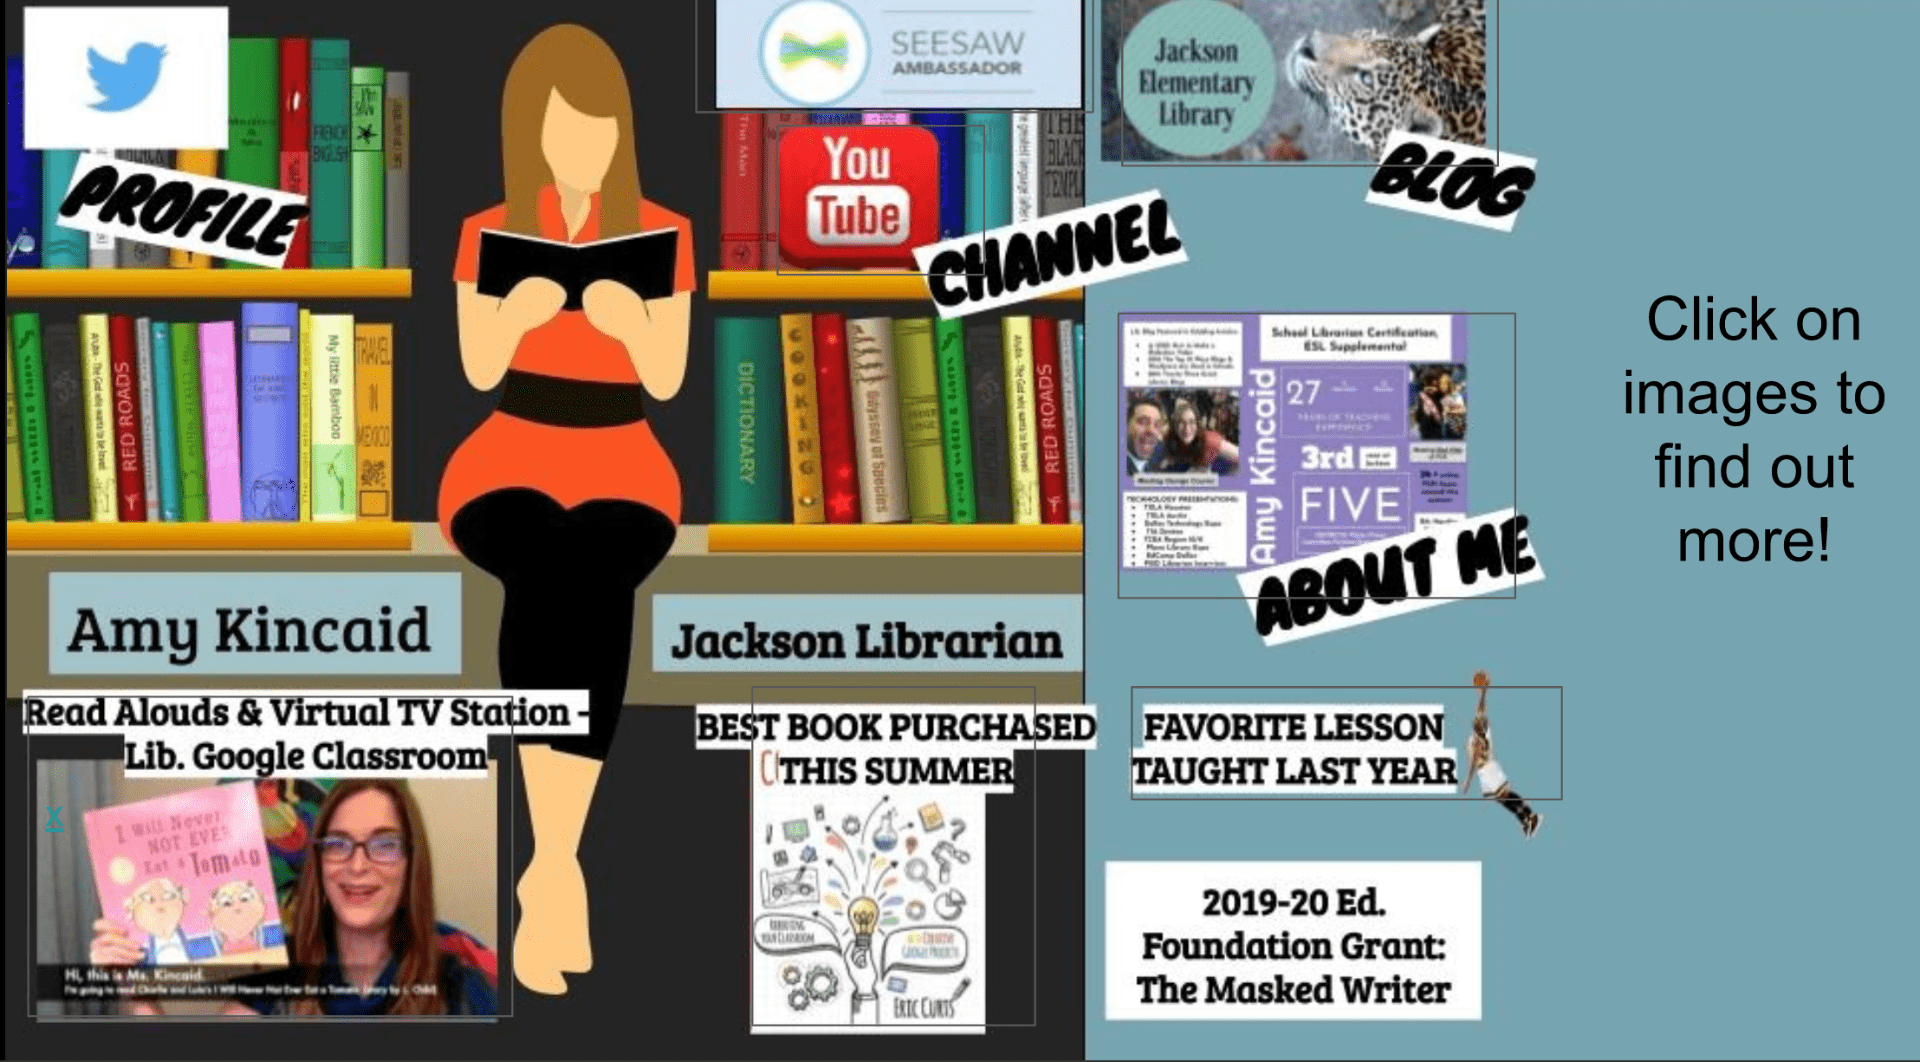 Nooooooooo – so make them transparent! You can go back and do this at the very end if you want.
 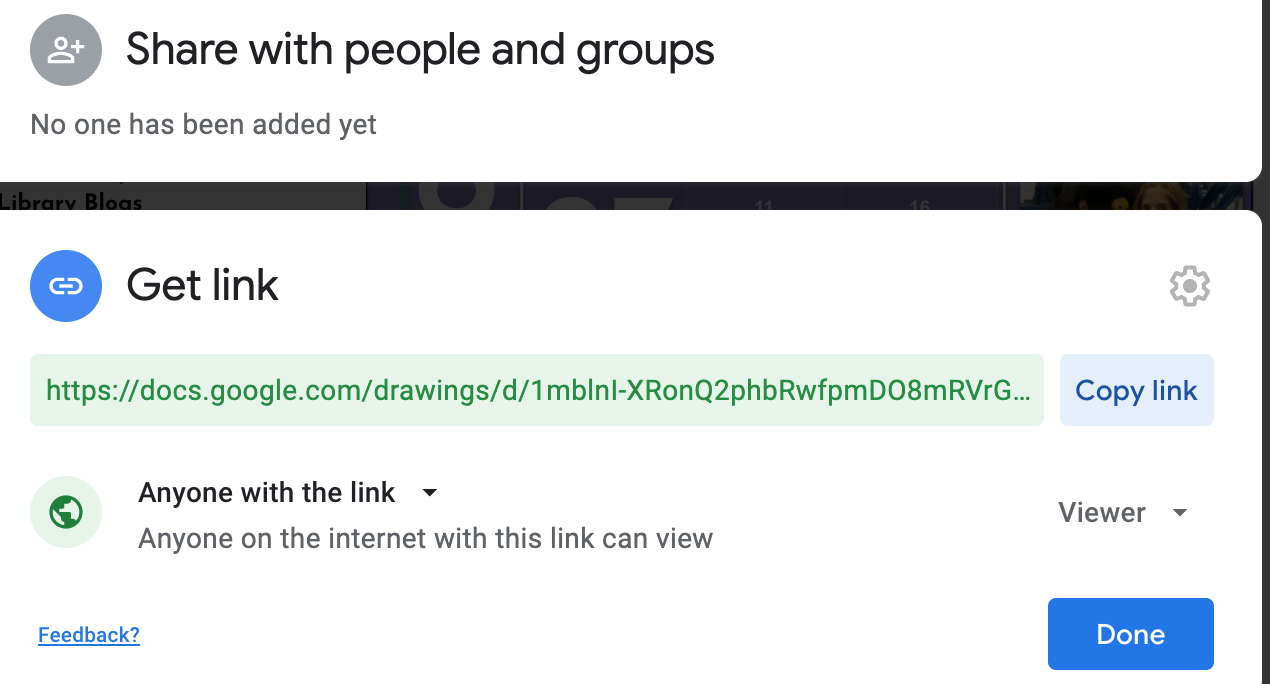 9. Be sure to adjust the sharing settings of EVERYTHING you share: other Google documents, photos, audio files, etc.
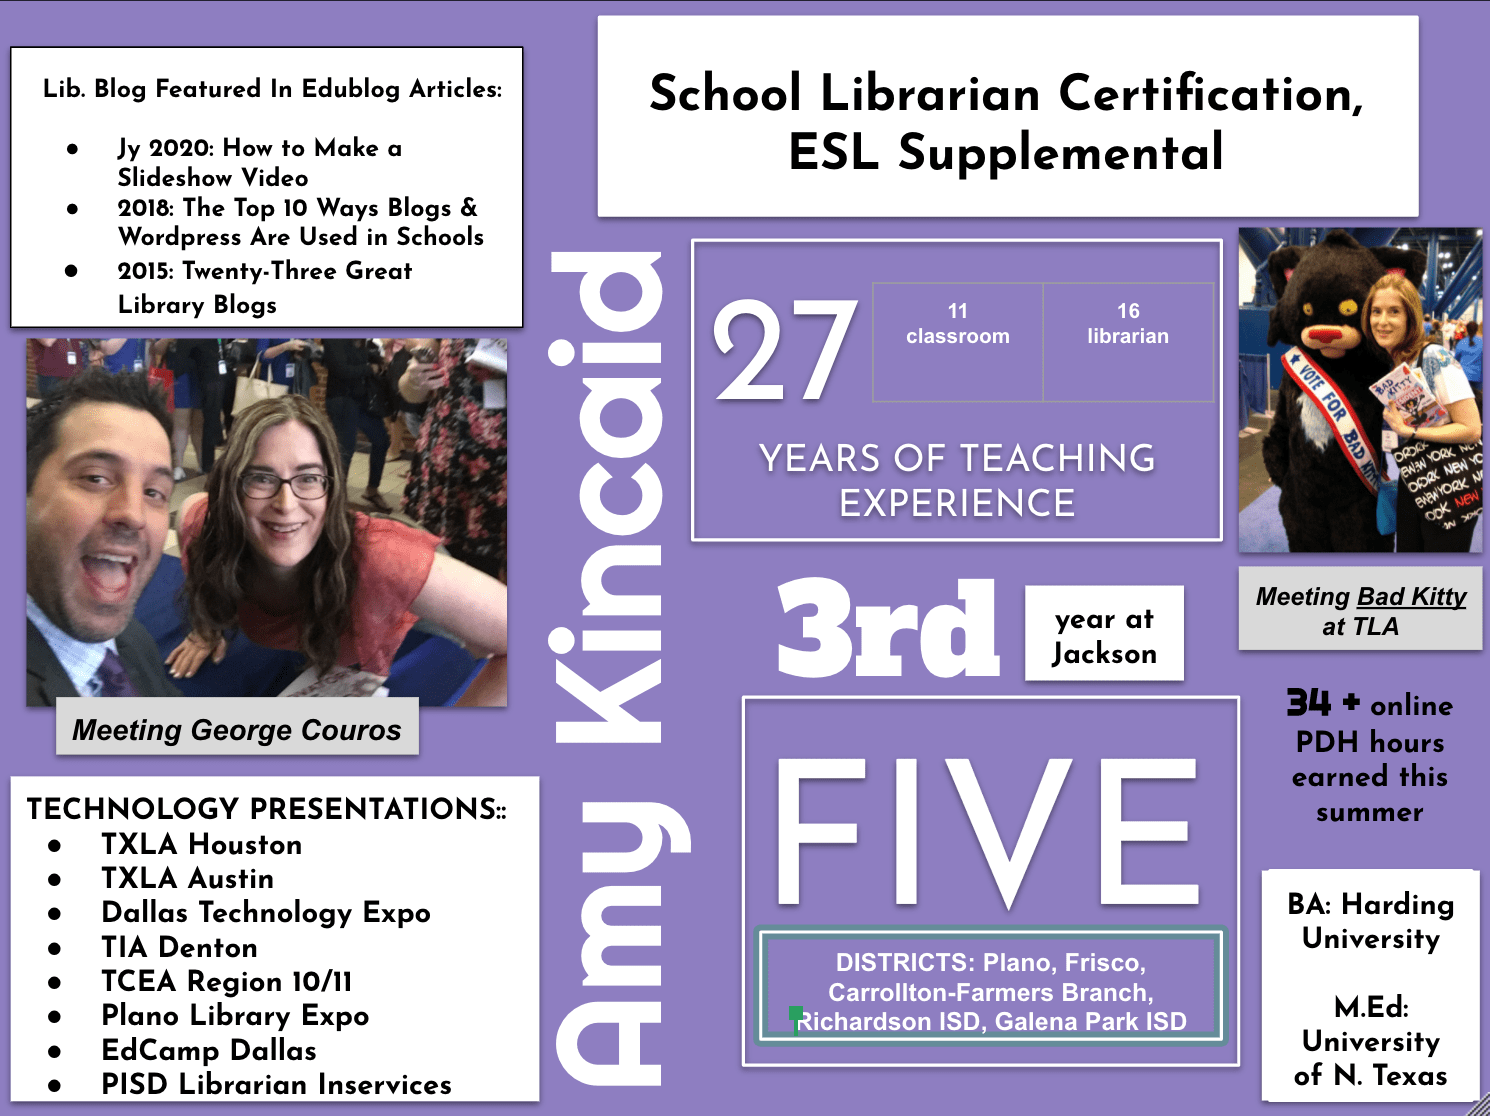


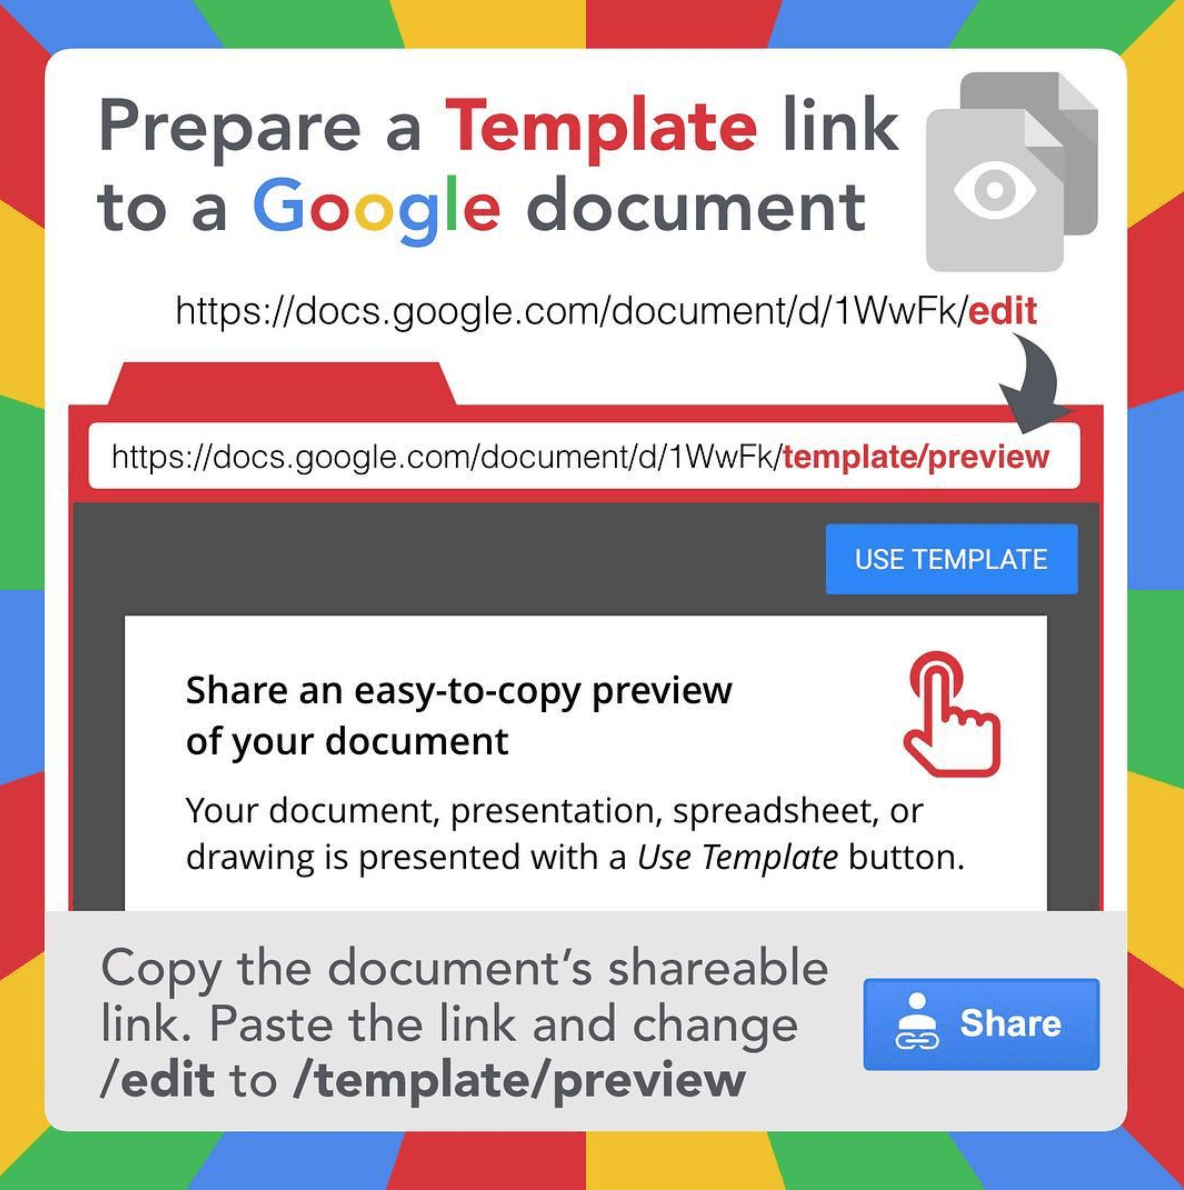
Same tip from Tony Vincent, but added benefit if you want a TEMPLATE: