Last week in the Jackson Library, Ms. Shearman’s class constructed balloon cars. They were given 20 popsicle sticks, a balloon, 8 rubber bands, and 4 LifeSavers mints. They had to work as a group to construct a 2-wheel or 4-wheel car. Check out the fun results!
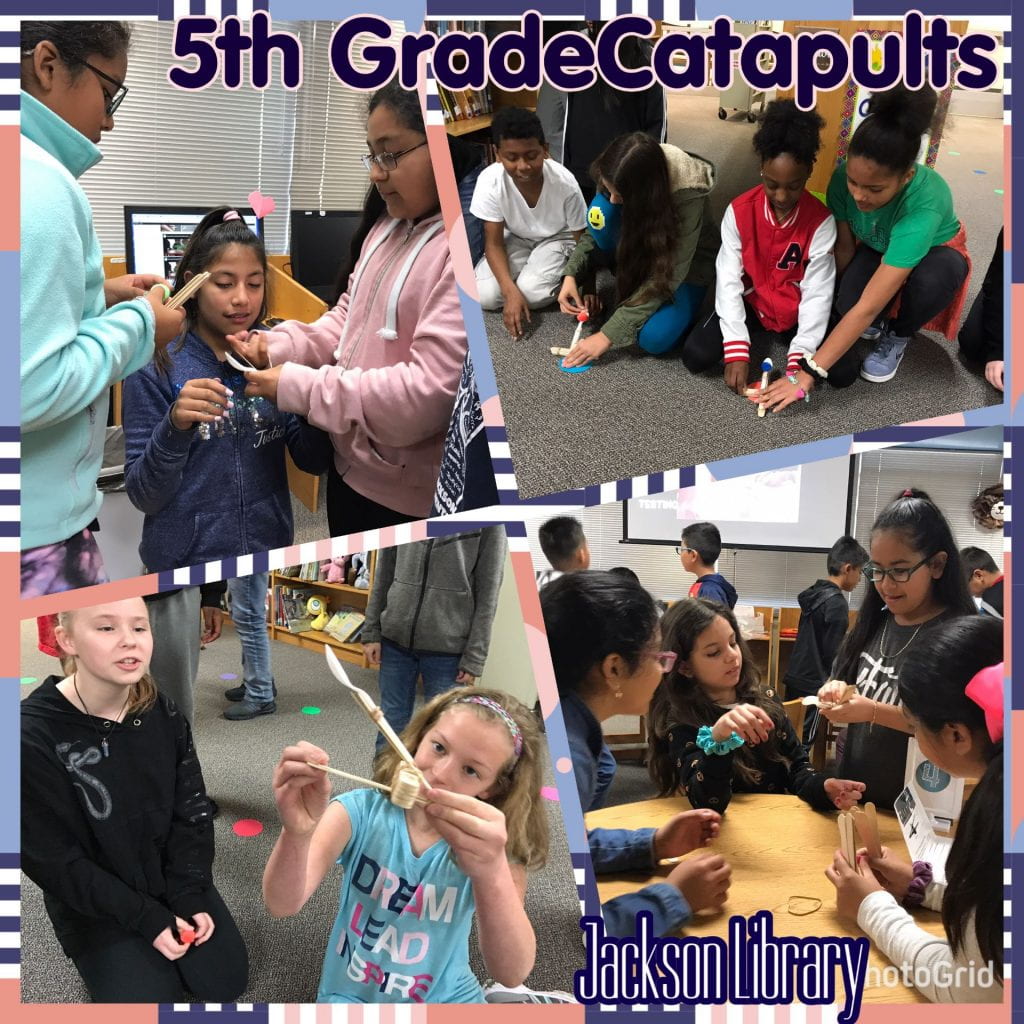
Fourth and fifth graders problem-solved as they constructed catapults in the Jackson Library last week and this week. The groups were all given 20 popsicle sticks, 7 thick rubber bands, a plastic spoon, a pom pom, and these instructions. They were not required to use the instruction sheet; it was just a guide. After about 12 minutes, they tested their catapult (3 tries), and then went to the tables to redesign for about 5 more minutes. Finally, they launched their catapults again. It was interesting to see the improvements they made the second time around!
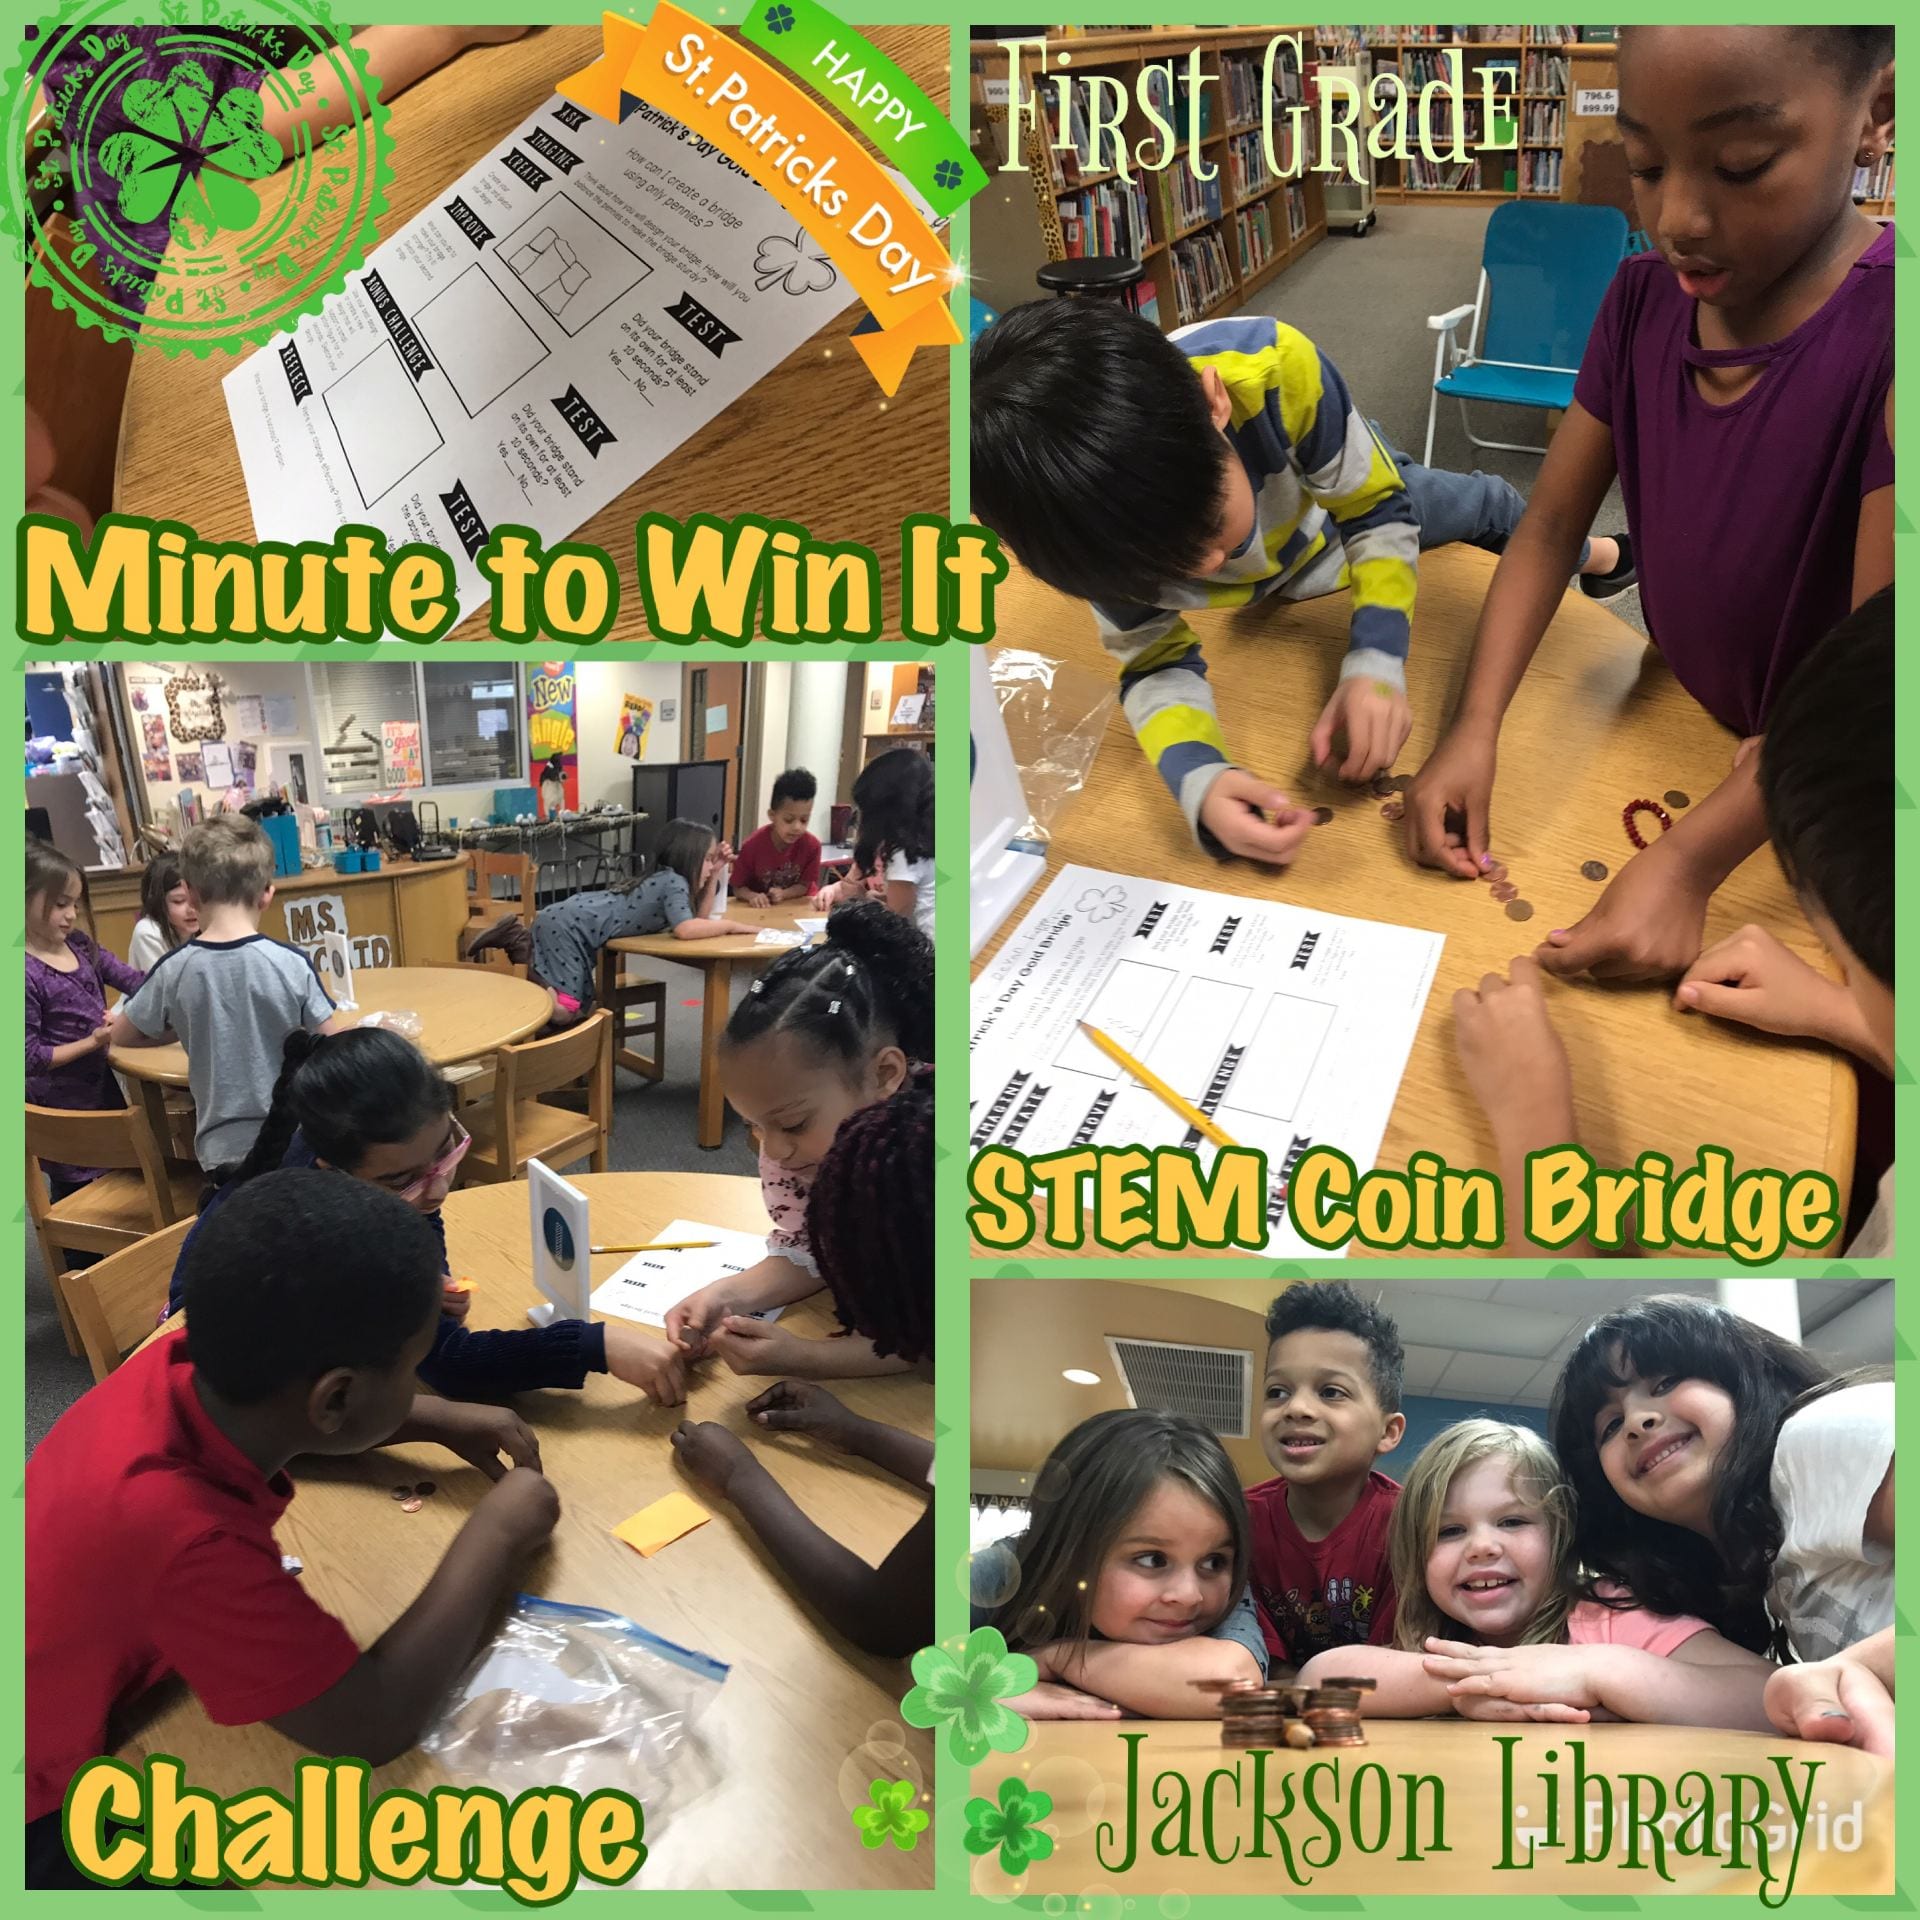
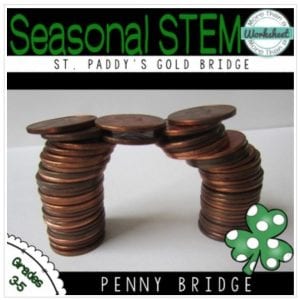
Last week in the Jackson Library, first graders competed in groups in a Minute to Win Itstyle game. After discussing bridges and building a sample model with mirror cubes, the kids had to devise a plan to create a bridge-like structure made from only pennies. They had to use all of the 30 pennies in the bag and they had to be able to slide a pencil underneath the bridge. After the challenge, they discussed how they would improve their bridge next time re-vamped their designs.